Update #30 - Making a motor mount and removing the cowl tank #
2022-08-22
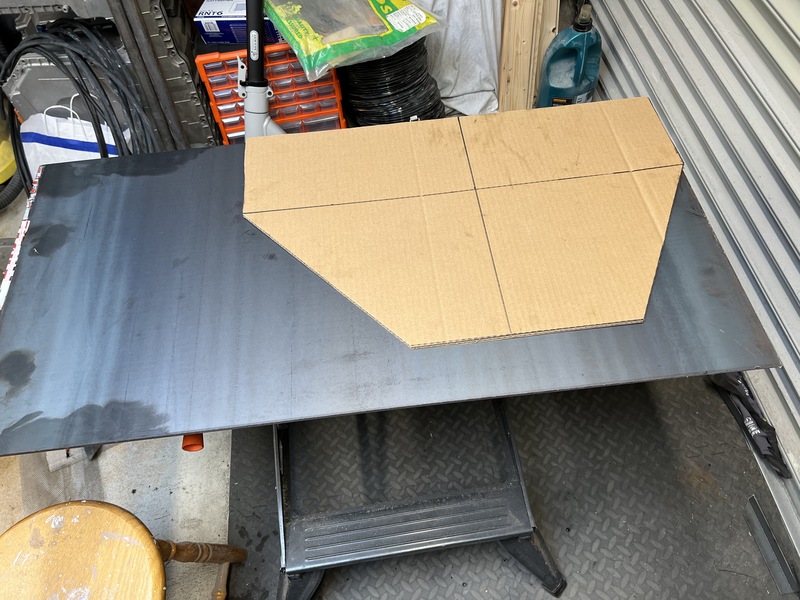
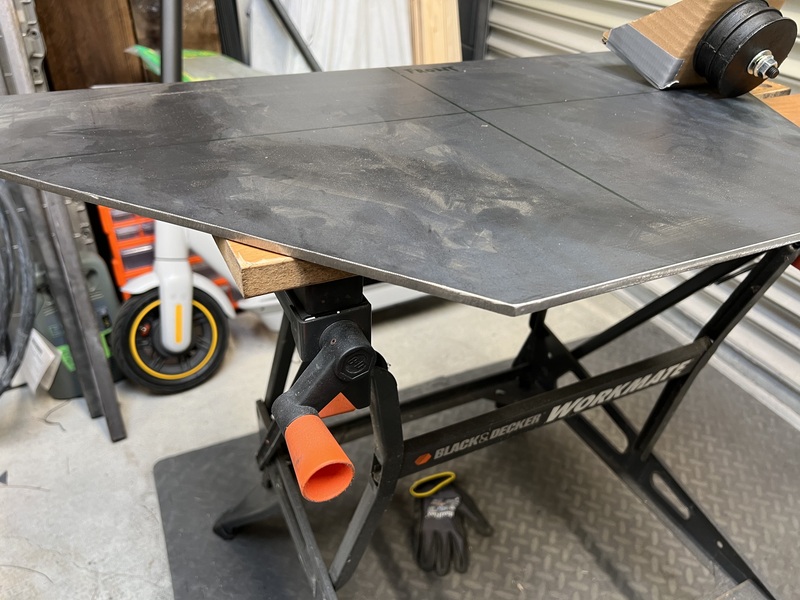
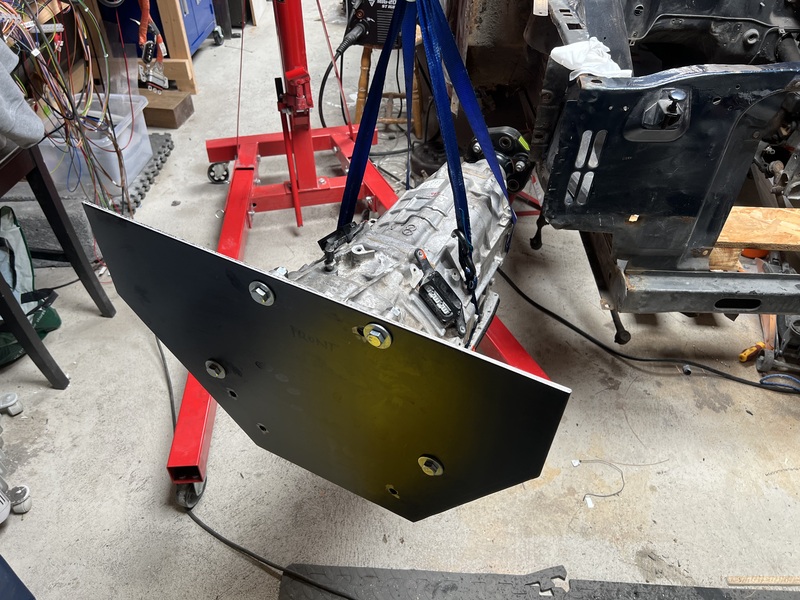
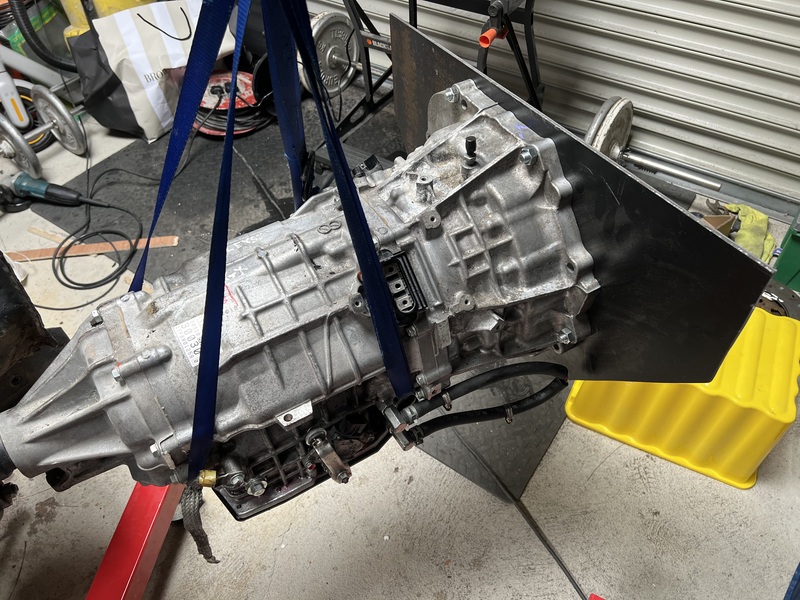
I mocked up the front part of the motor mount in cardboard to check for fit. Then transferred the design to a piece of 6mm steel and cut it out with an angle grinder. Turns out you can get a pretty neat cut of you’re very careful.
I don’t have a great sense for how strong the front mount is or needs to be. I may weld some box section across the front for extra strength.
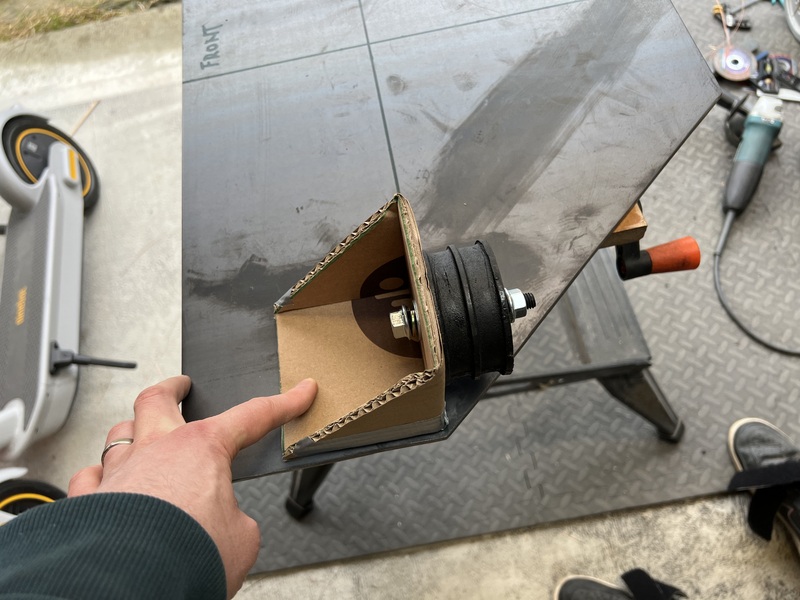
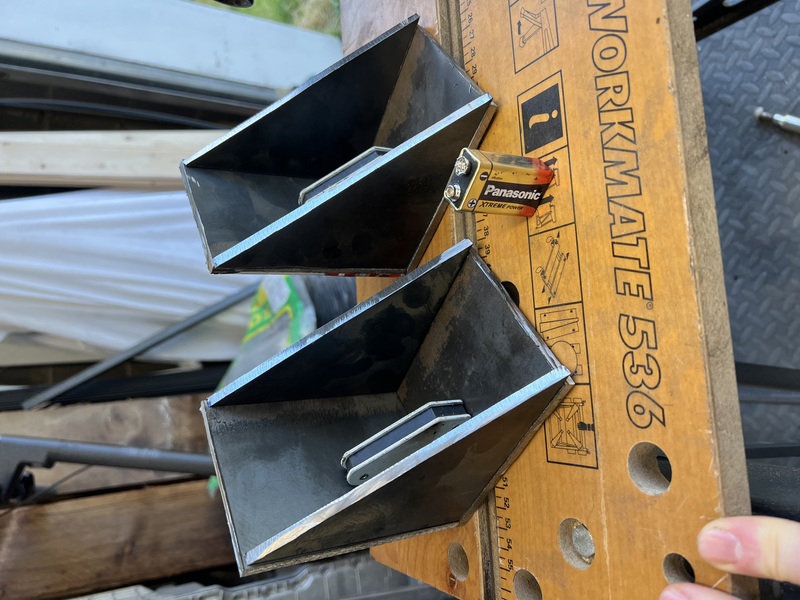
The front mount will have an upper bracket (bolted to the big plate), and a lower bracket (bolted to the frame rails). Sandwiched between the two brackets will be a rubber engine mount. I mocked the upper bracket in cardboard to check the fit. It fit felt a bit tight, so I decided to make the length and height of the brackets a bit longer.
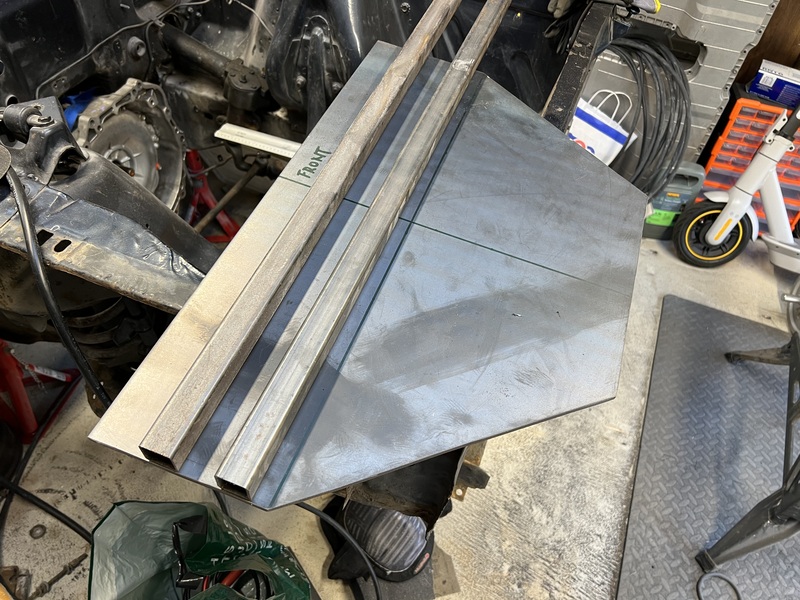
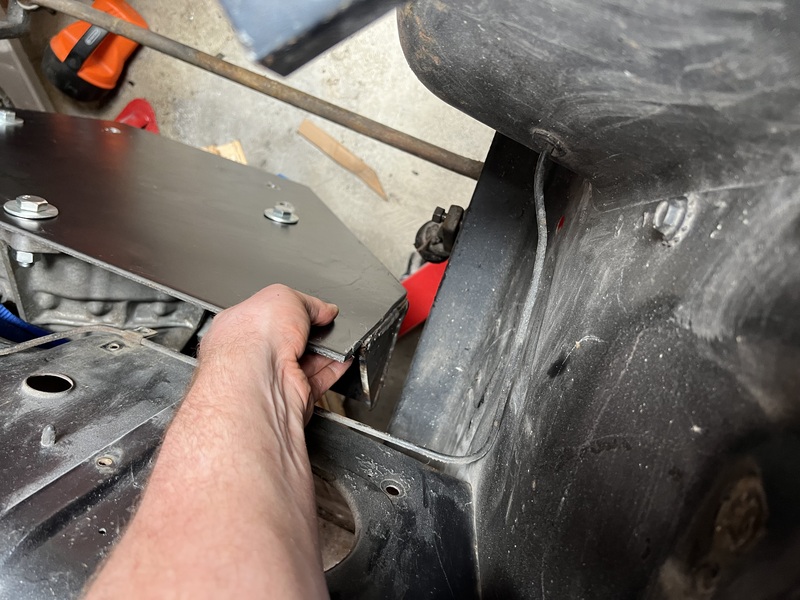
Here are the pieces for the upper brackets cut out and then welded. Not great welding job, so I’ll over them again. I’ll also do two short welds on the inside, along each edge.

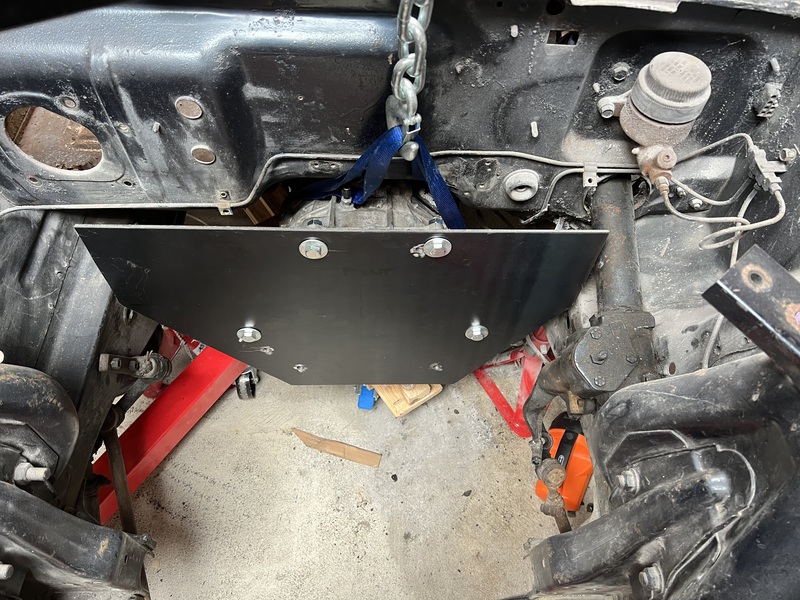
I drilled out the bolt holes in the front mounting plate (that took a while) and did a test fit. No issue with the holes being in the wrong place, which I’m amazed I got right the first time.
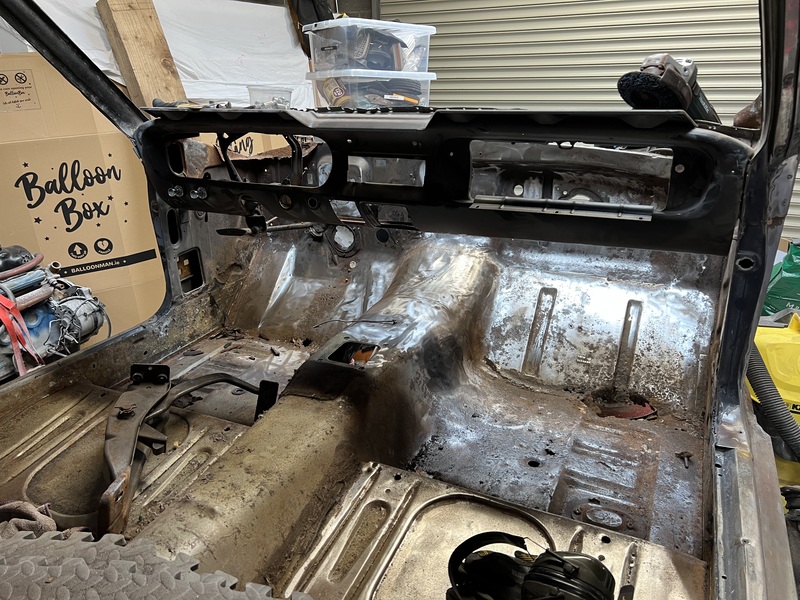
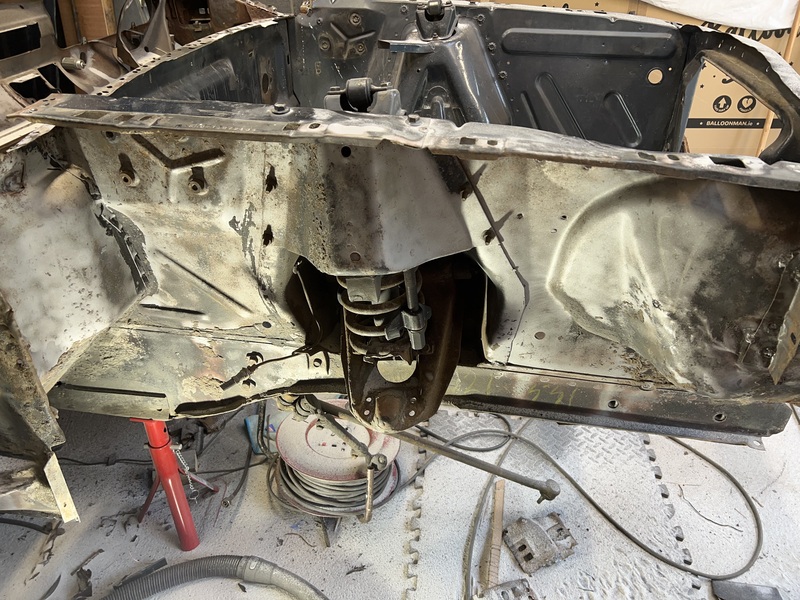
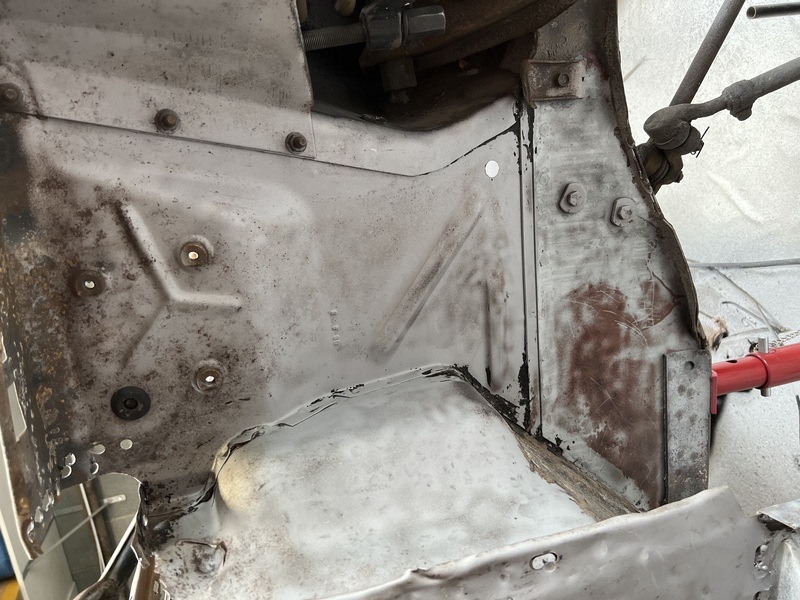
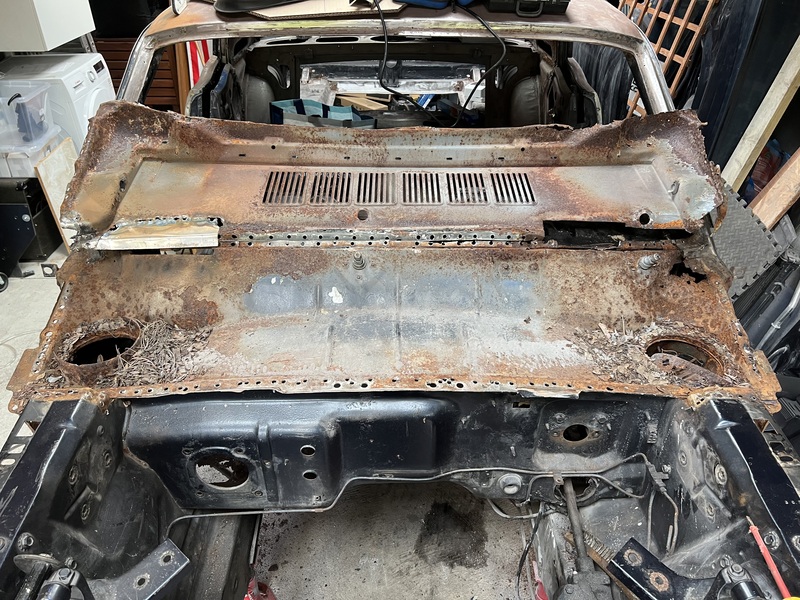
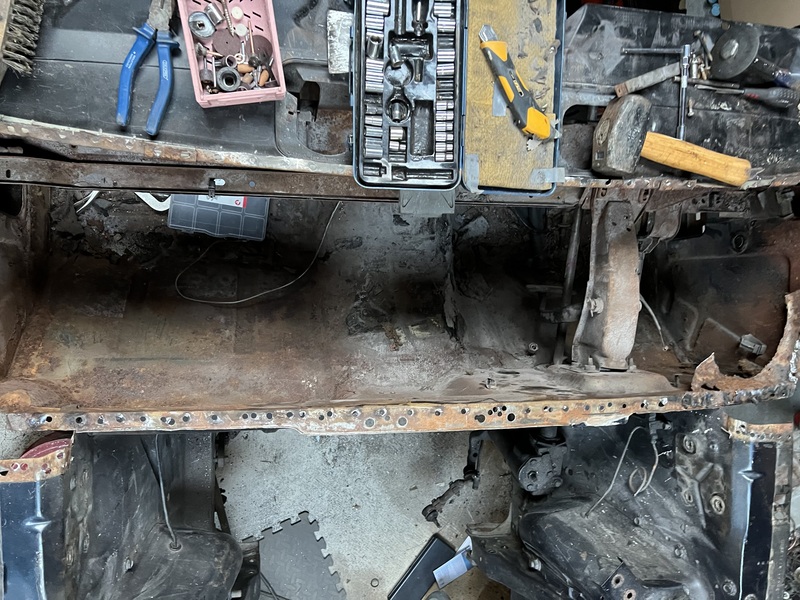
I thought the cowl tank might be salvageable with a few patches, but the closer I looked, the more wrecked I saw that it was. So, I’ve decided to completely dump the old tank and put in a brand new one. I drilled out all of the welds and then went at it with an angle grinder to remove all of the little bits of metal still holding on. I took several hours of heavy work to get both the top and bottom skins out.
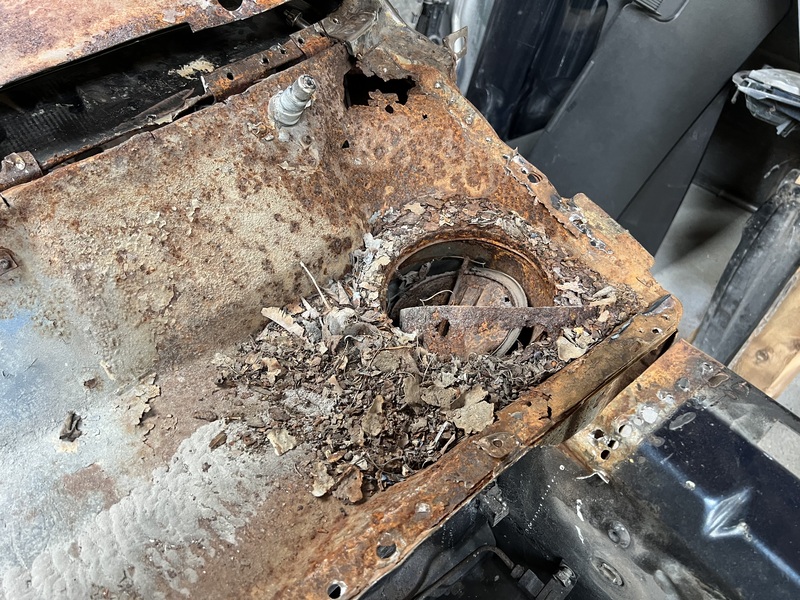
As you can see, when I removed the top section there was a lot of crap sitting inside the tank. Plus both cowls themselves were completely decomposed. The driver side vent unit that attaches to the the underside of the cowl in the foot-well is pretty badly rusted up too. The choke/door thing is unusable. I may be able to repair it, but we’ll see later.
The window wiper motor and mechanism still work. I had to hook up a 12V power supply to move the arms out of the way of the screw holes.
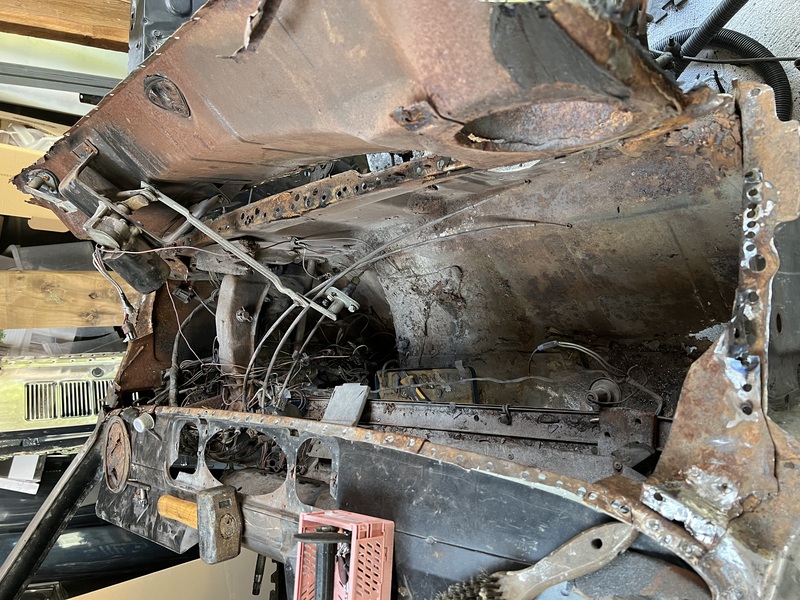
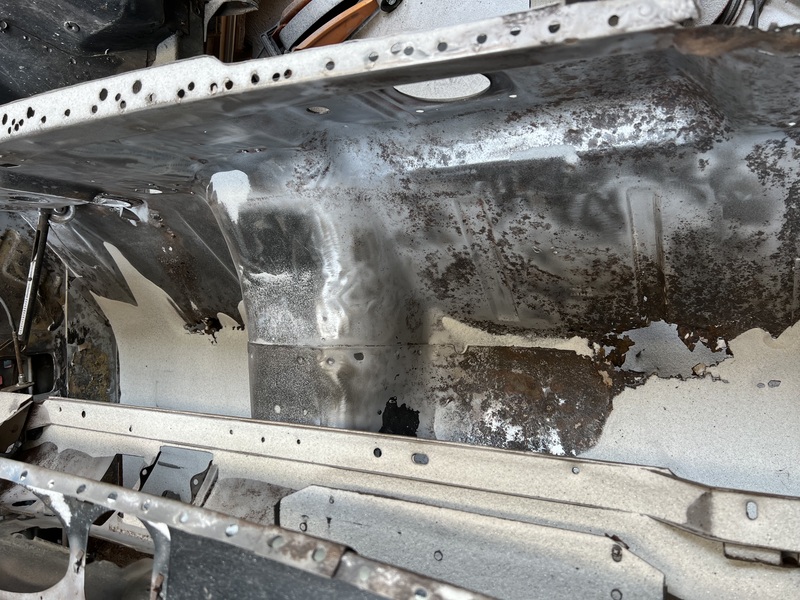
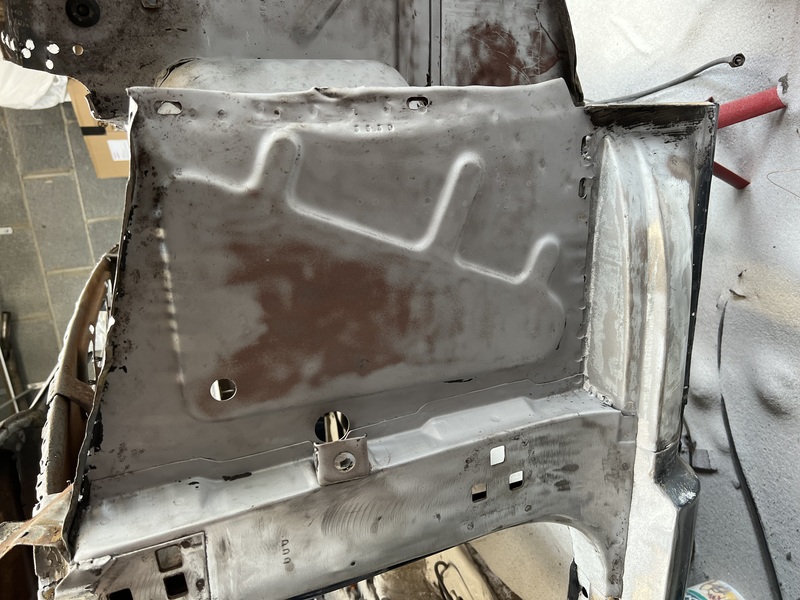
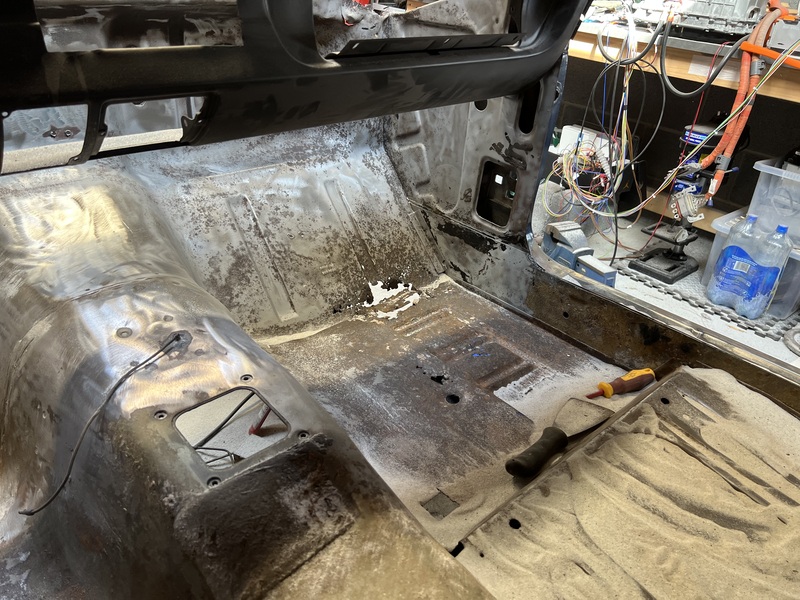
Now that I’ve got the cowl tank off, I’m taking the opportunity to clean out the foot-well area and the back/inside of the dashboard. Once I’ve removed all of the crap/rust I’ll redo all of the seam sealing and prime that general area. I’ve been going over everything with a wire brush and a sandblaster to get back down to bare metal.
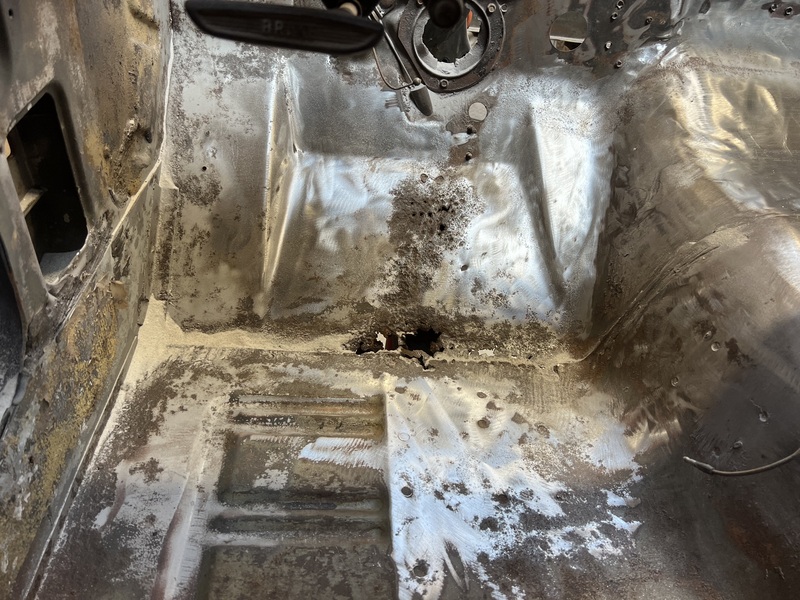
As you can see, there are two fist sized holes in each of the front foot wells. I’ll need to patch these up. The right/passenger foot-well is much worse than the left/driver foot-well. I’m going to need to replace the passenger pan from the seat mount forward. New pan is on the way. On the driver side I think I’ll just need a couple of patches that I can just make with steel I have on hand.
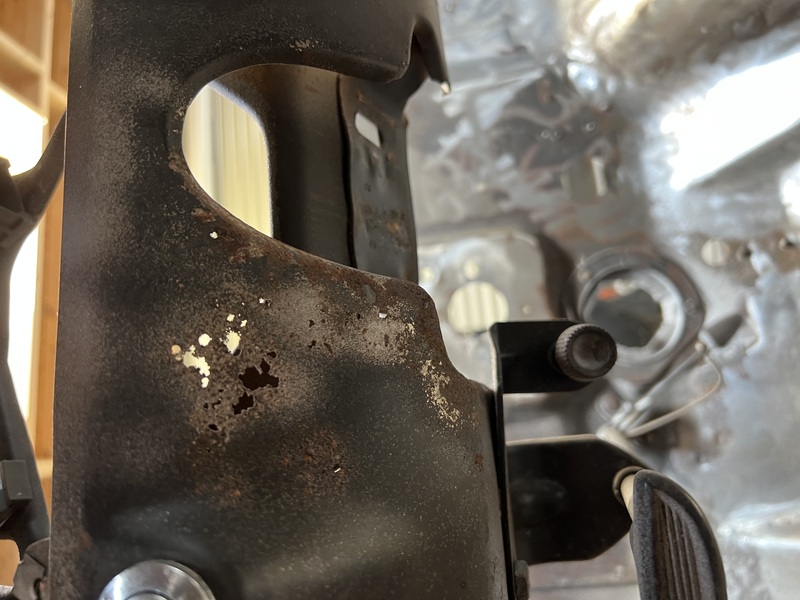
Unfortunately, the dashboard, to the left of the steering column has rusted through. Buying a whole new dashboard would be expensive. And making a patch for this would be very tricky (it’s a curvy piece). So, current plan is to fiberglass the back of this then fill the front to make it smooth. It’s not structural, so, shouldn’t matter.