Update 8 #
2020-01-11
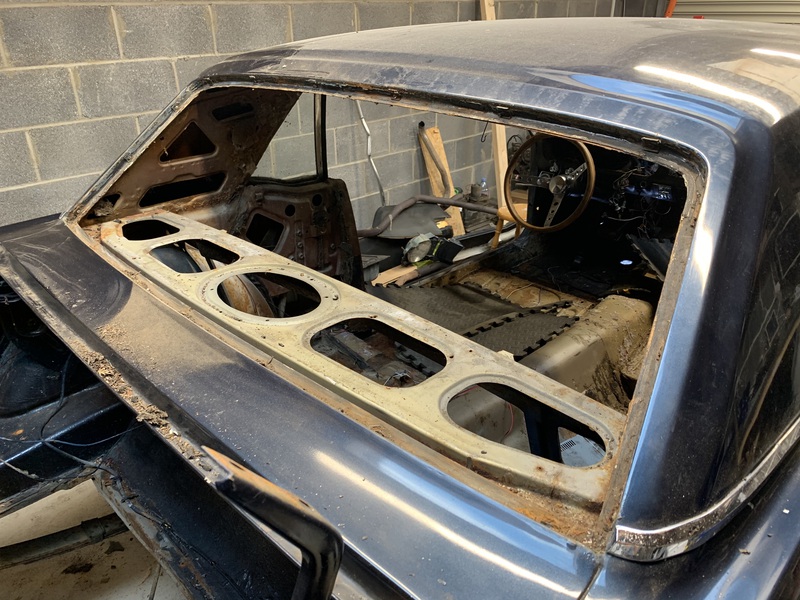
Took out the some of the glass today. The wind-screen glass was already cracked, so, I did that first as it didn’t matter if I screwed it up.
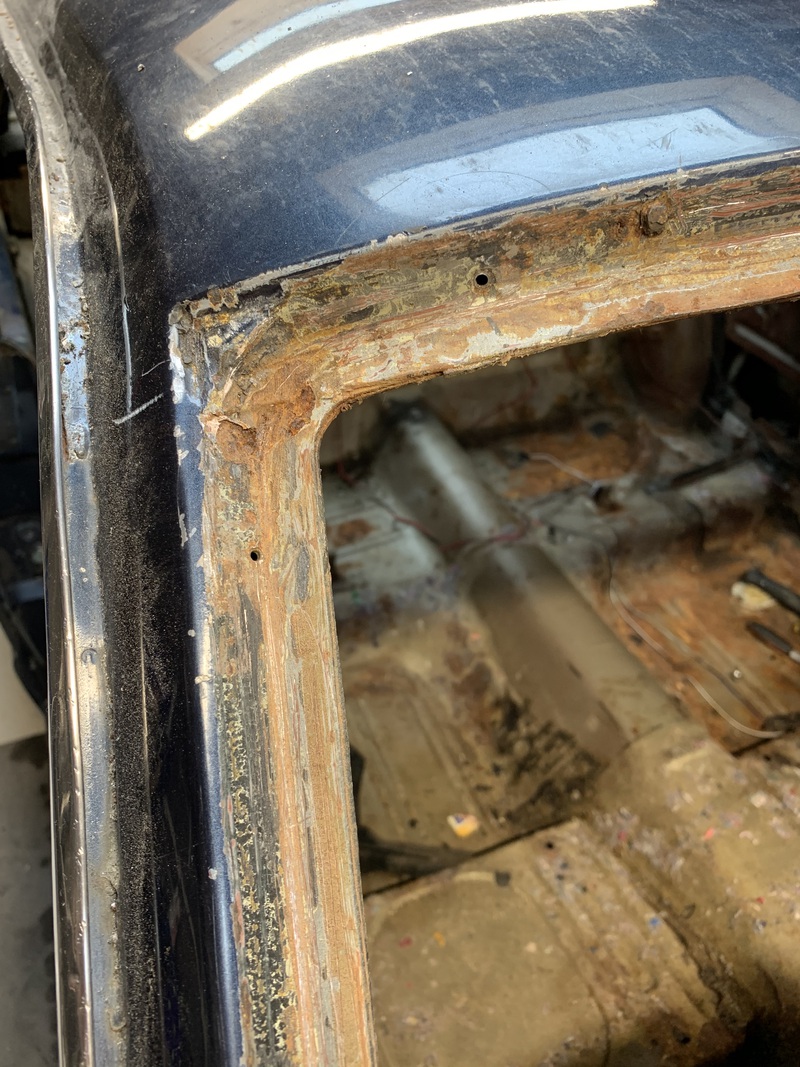
The first thing to do was remove the chrome from around the wind-screen. There’s a special tool for doing this. It reaches in under the chrome and unhooks it from little metal clips attached to the body. I just used a skinny screwdriver and that worked fine for me.
Turns out doing the wind-screen first was a good call. I put a lot more cracks in the wind-screen before I got it out. There’s a U-shaped rubber moulding going all the way around the glass. The rubber part is glued in against the metal. The rubber was pretty perished, so I wasn’t trying to preserve it. So, I ended up going all the way around and cutting off one arm of the U. Then I could lift the glass straight out. The moulding could then just be torn out.
Below you can see everything, including the chrome clips, pulled out.
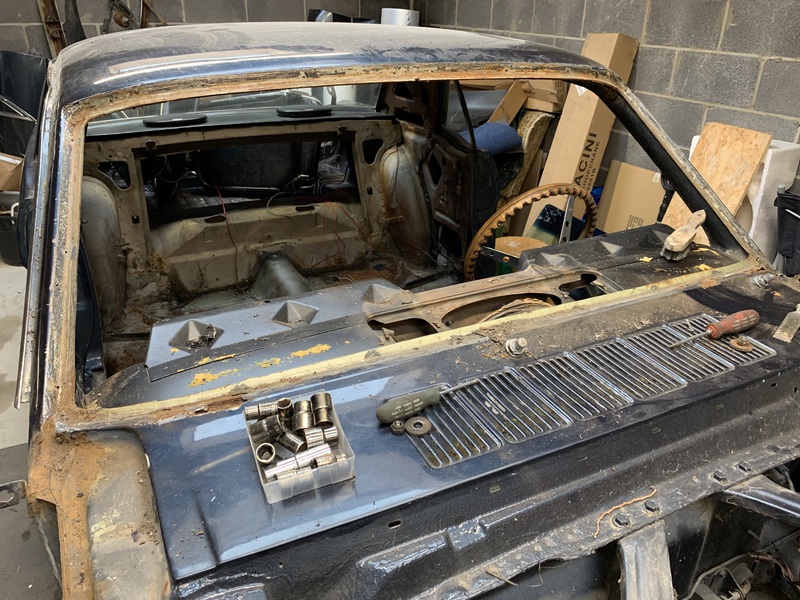
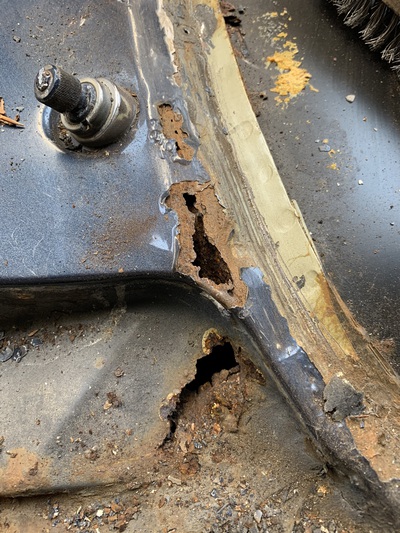
With the wind-screen glass out, I can now see even more of the rust on the driver side. It looks like the whole cowl area will need to be completely replaced. The cowls are both completely rotten and the upper skin has these big holes in it too.
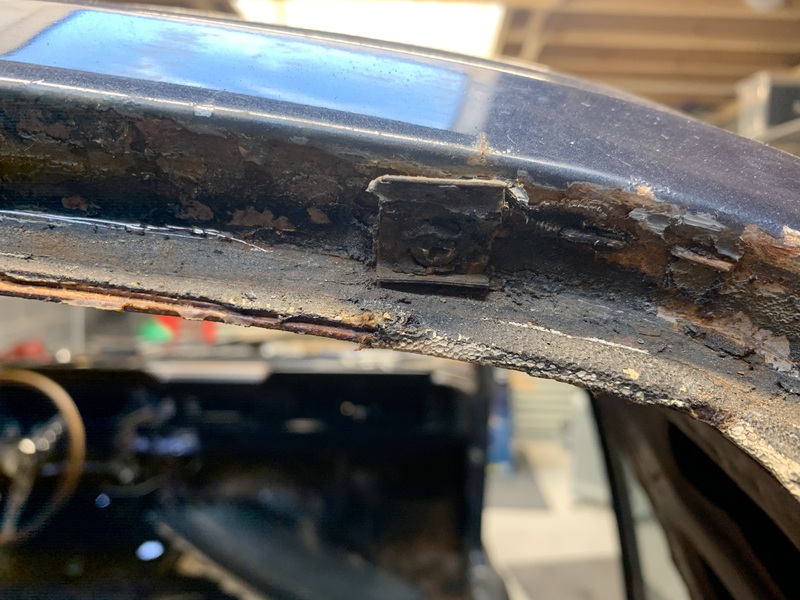
I also took out the rear glass. It came out nice and neatly in one piece, so, I can re-use it when I’m putting everything back together again. You can see one of the clips that hold the chrome on in the second image below.
Removed the fuel filler cap, filler hose and then the tank itself.
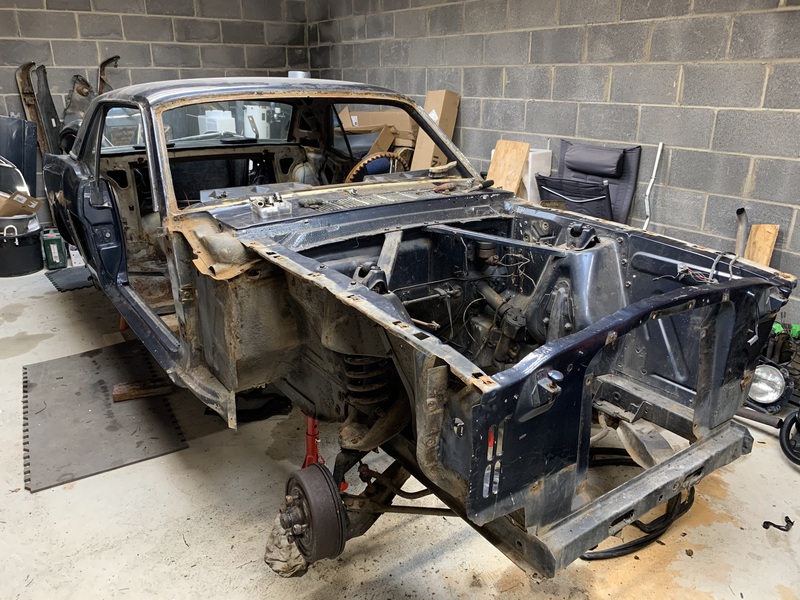
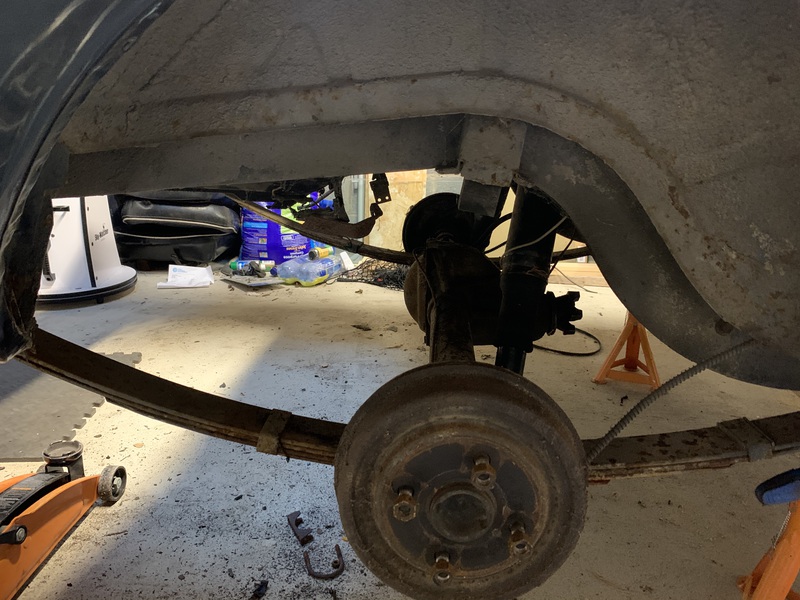
Starting to work on removing the suspension parts.


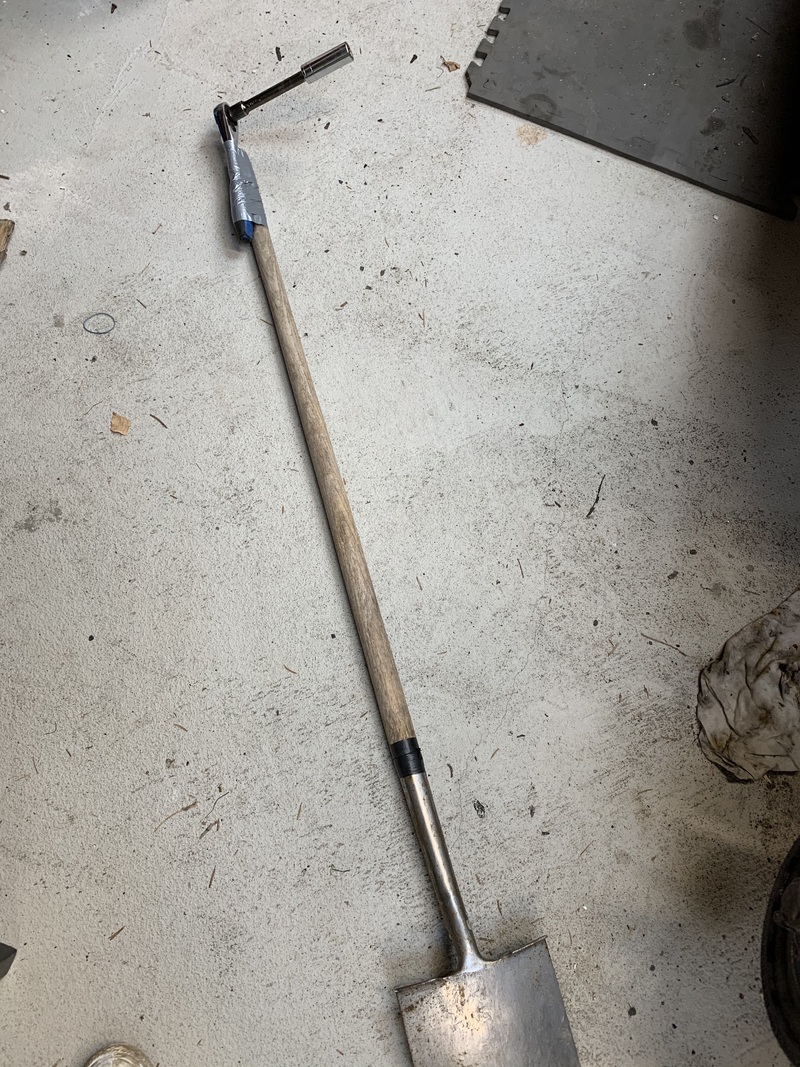
Behold! my amazing breaker bar. I had a tough time taking off a couple of the wheels, so I fashioned this as I don’t have a proper breaker bar.
That’s it for now.