Update #33 - I hate rust #
2026-06-20
Wow, no update in over a year. A lot has happened.
The pace has picked up relatively recently as I have a few hours a week set aside just to work on the car. I seem to have got to the point now where I’ve broken the back on the chassis rust removal and repairs. It’s finally starting to look like a solid base that I can start building on.
Here’s what I’ve been up to.
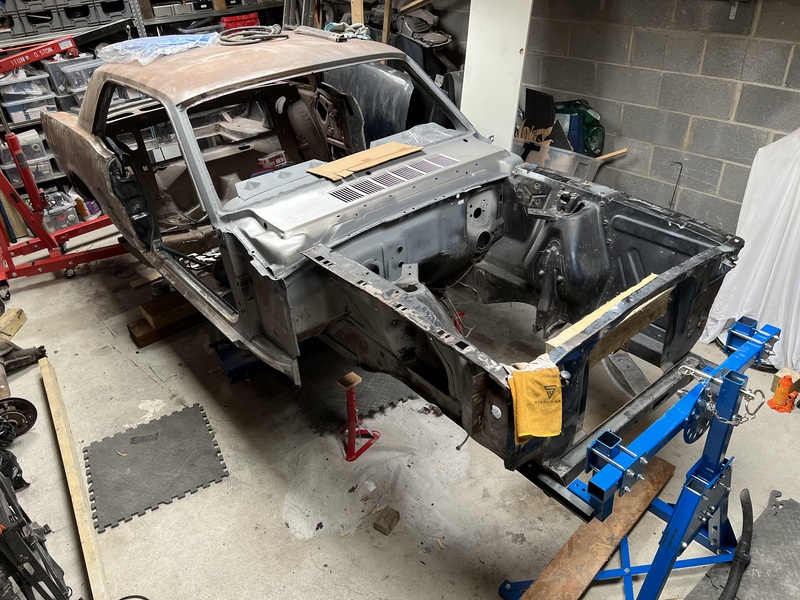
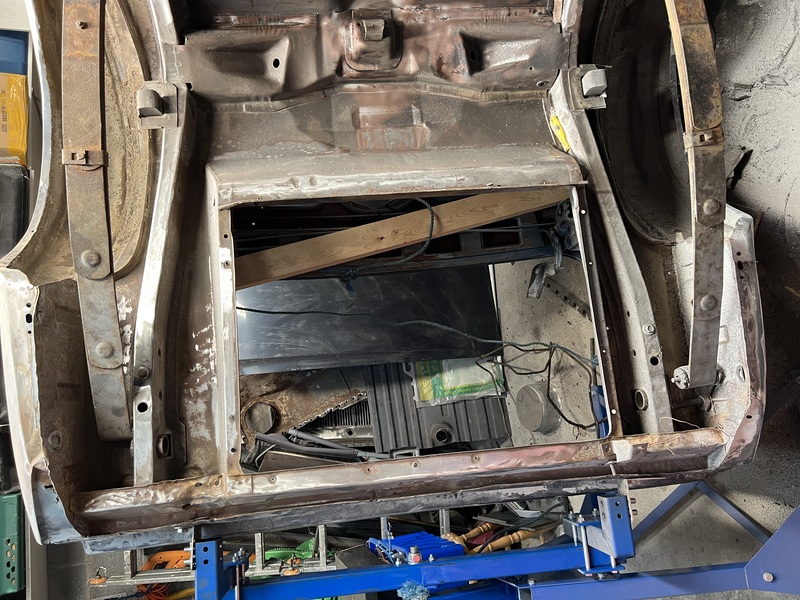
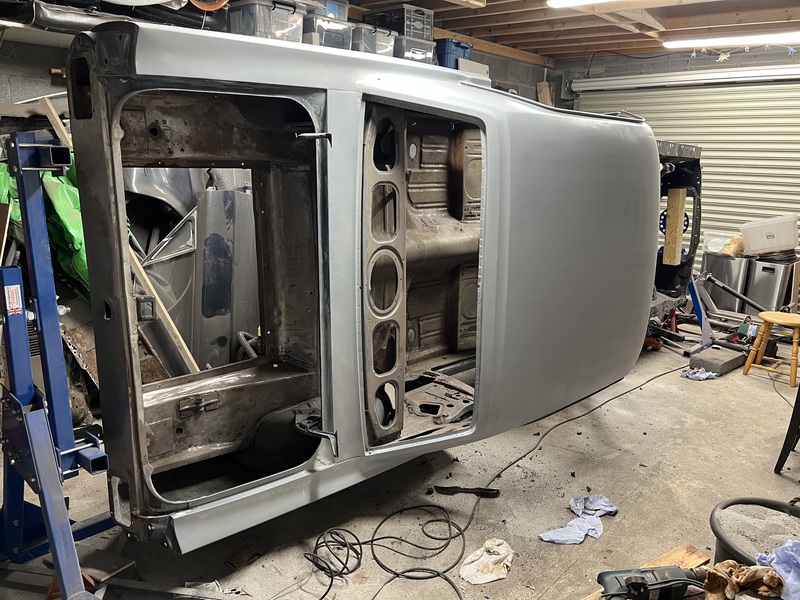
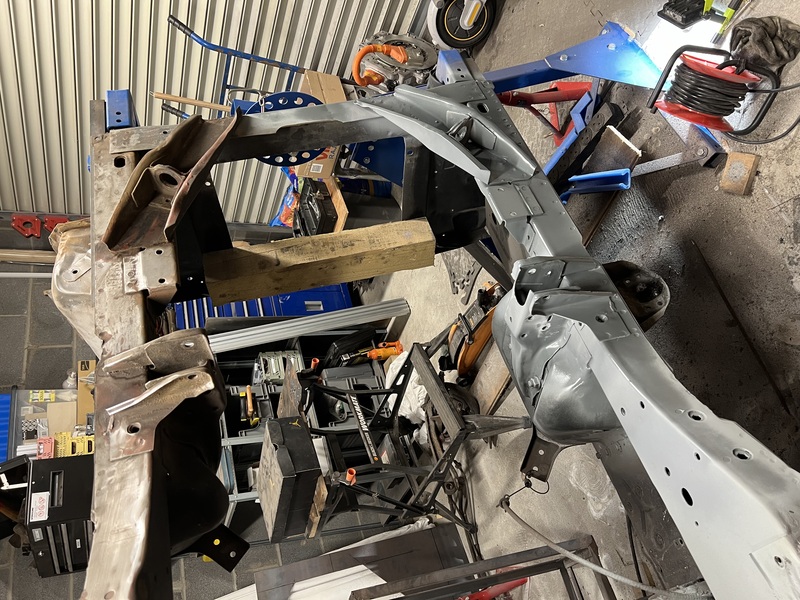
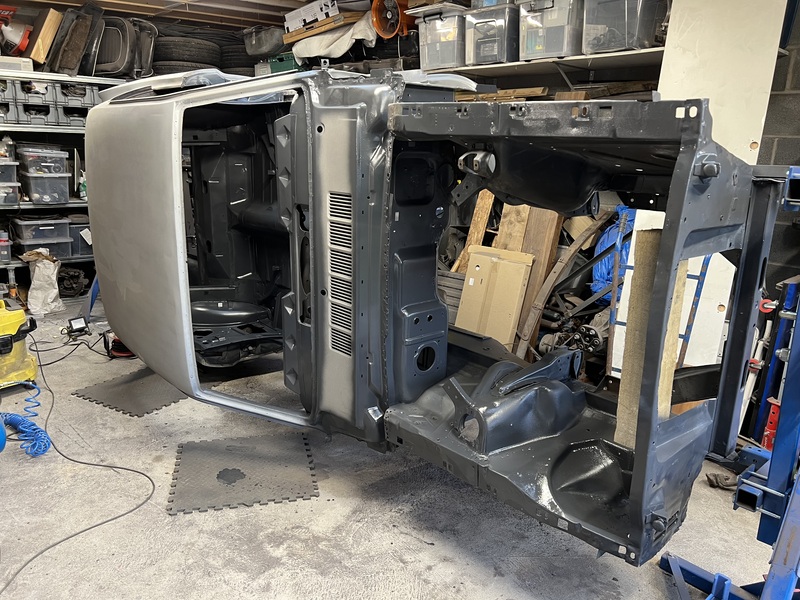
Rotisserie #
I bought myself a rotisserie to allow easy access to the underside of the car. And I have to say, I am really, really glad I got it. Working on the underside of the car would have been a real pain without it. My back is grateful for all of the pain and suffering I’ve not had to put it through.
Structurally, the underside of the car was basically fine. It just need a lot of cleaning up and a few relatively small repairs.
Getting the car up on the rotisserie was a tricky process. While the chassis is completely stripped back, it still must weigh something like 300kg.
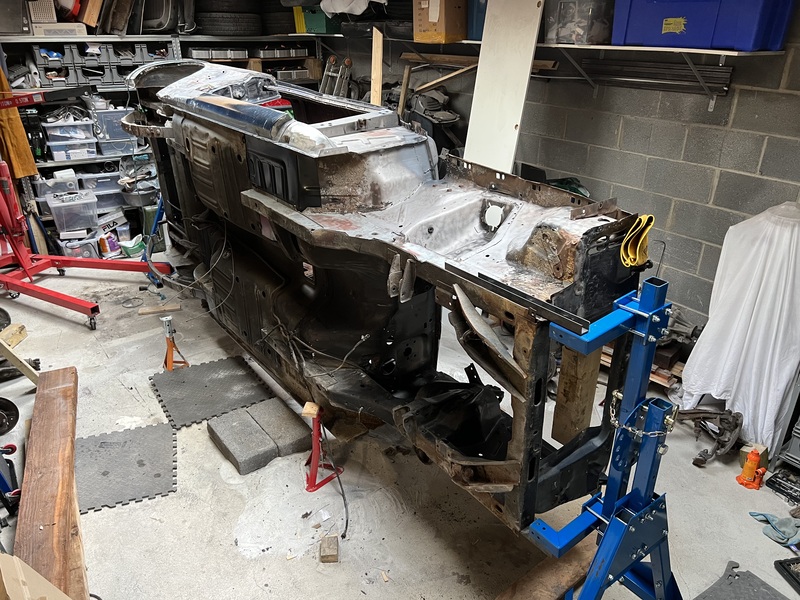
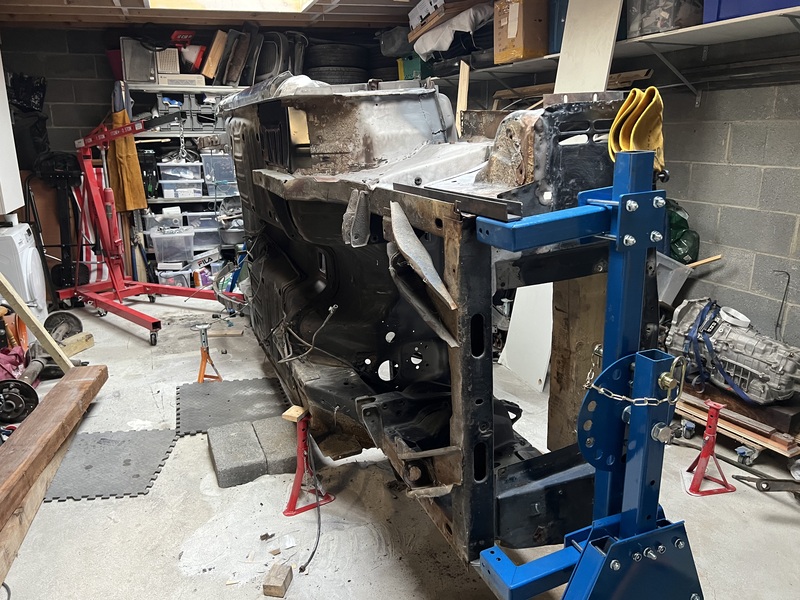
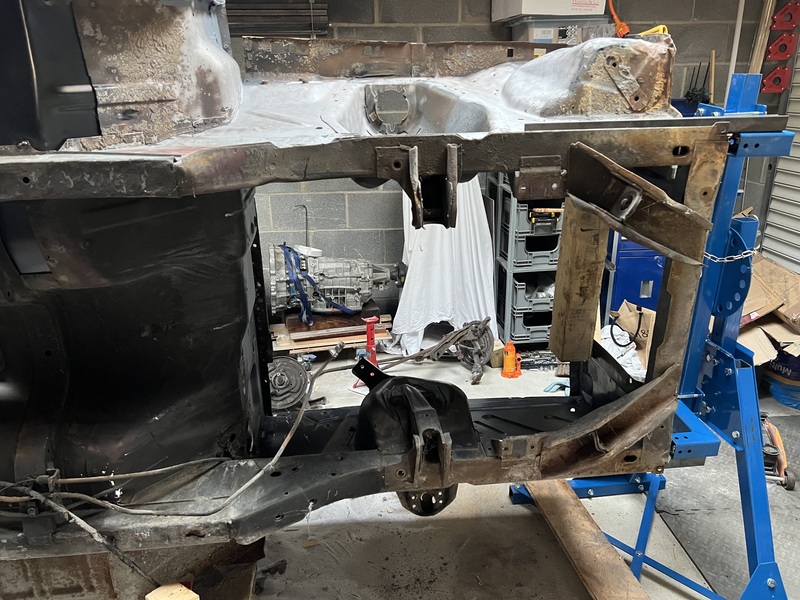

In the pictures you can see a lot of grease and grime which seems to have acted as a barrier and preserved those bits better. The areas out at the sides, where the grease/soot didn’t reach seemed to have fared worse. It’s possible I suppose that this greasy stuff was some sort of underbody protection put on by a previous owner. It seems a bit ’loose’ to be that.
But there was all sorts of stuff on the underside of this car - rock-hard caked on mud, some sort of bitumen or tar, weird, very dense seam sealer. I gave it all some combination of sandblasting, wire wheeling, angle-grinding with polycarbide discs (which are amazing ♥️), sandpaper, wire wool …. It took really a lot of effort to get it clean. I found as well, that I would have to clean a section, then immediately hit it with primer, or else the moisture in the air would start it rusting up. Even if I just left it over night.
I removed the fuel line (won’t need that any more), the brake lines, and handbrake cables that all run under the car. I’ll run a new brake line out to the rear axle and reinstate the handbrake cables when I’m putting things back together.
The rubber stops for the rear axle actually look in OK condition so will leave them there. I just taped them up to not get paint on them.
The bolts holding the forward end of each leaf spring were both a pain to get off. The leaf spring curls around at the end to make a circle. Inside this circle is a rubber bushing. In the centre of that rubber bushing is a metal collar that the bolt sits in. The collar and the bolt had seized together. So, even if you remove the nut from the bolt, you can’t get the bolt out because the collar is wider than the hole in the mounting bracket for the bolt. Added to this, I don’t have any sort of reciprocating power tool to get at the side of the bolt to chop it off (the diameter of my angle grinder is not large enough to get in there either). So I had to use a stickey-outey hacksaw and chop the 1/2 inch bolts by hand. It was gruelling to say the least and I managed to bend both mounting brackets a little in the process.
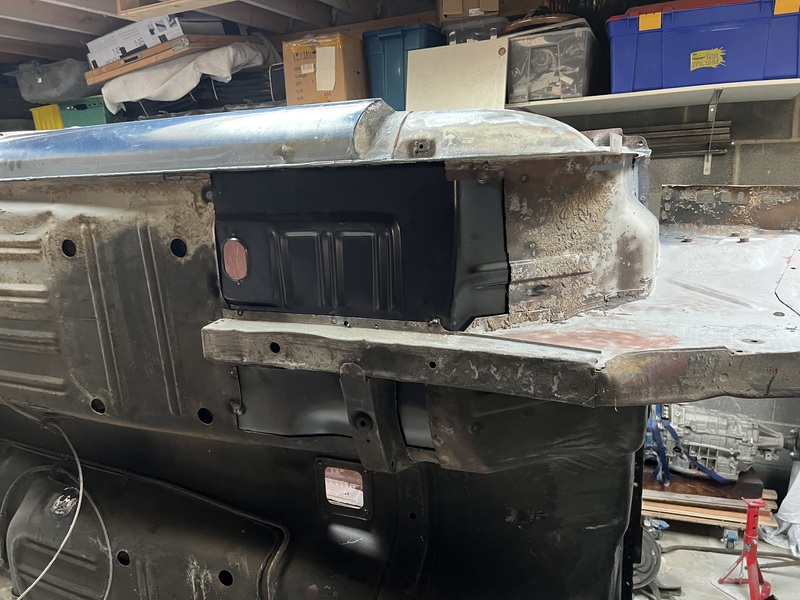
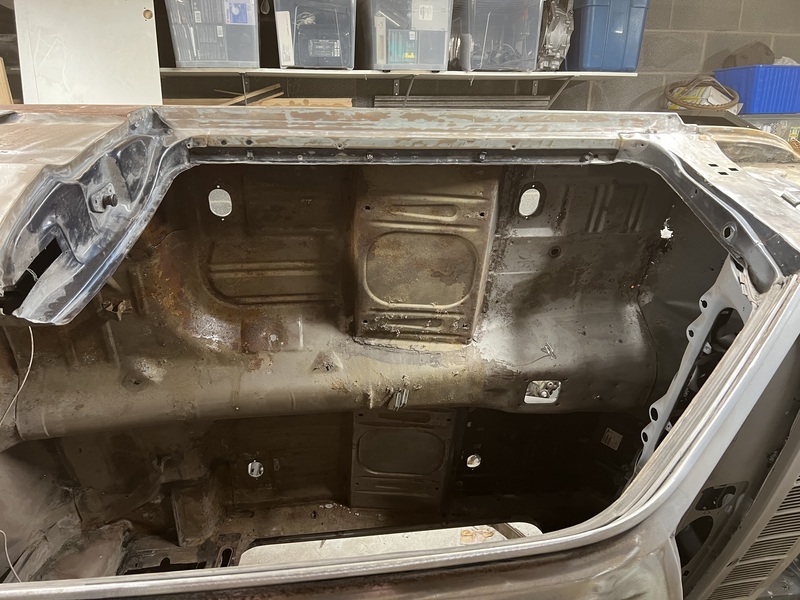
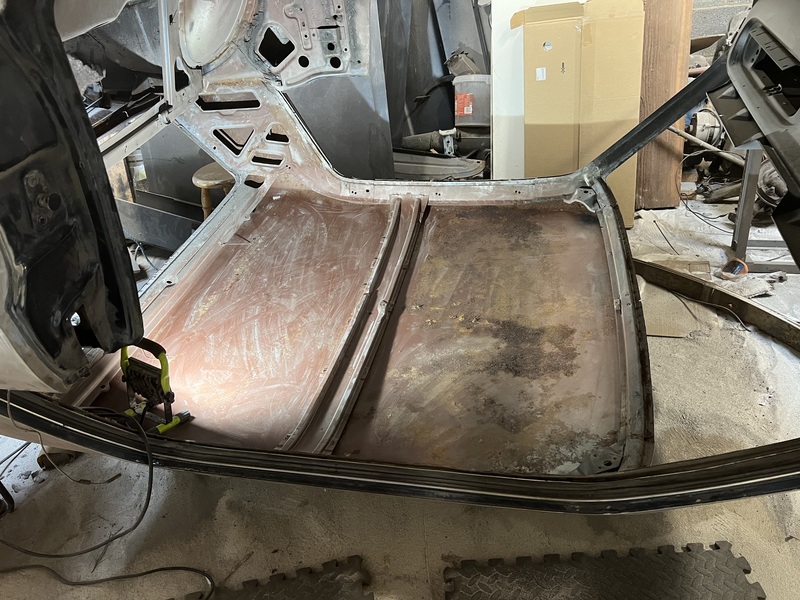
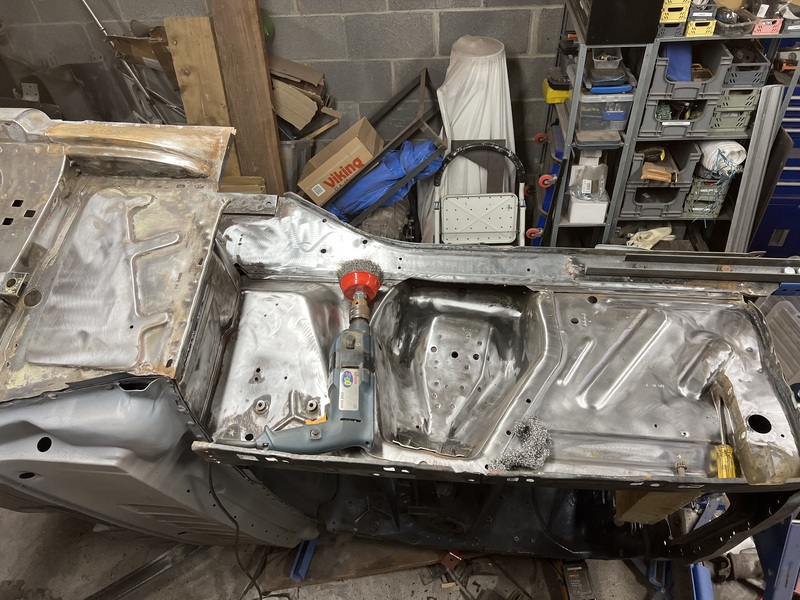
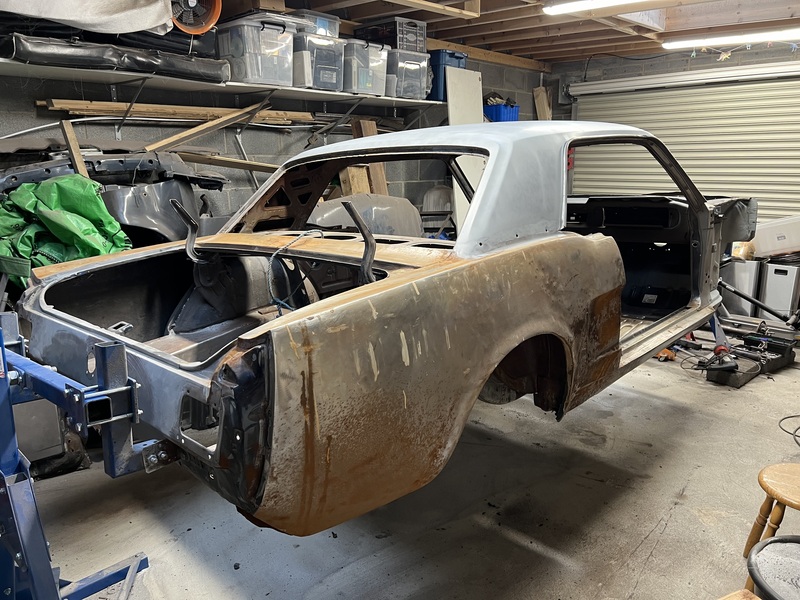
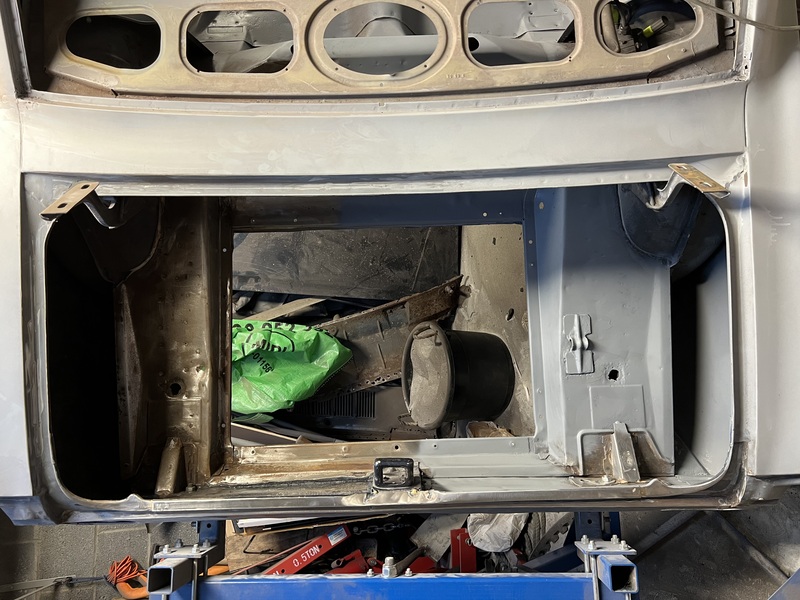
Interior #
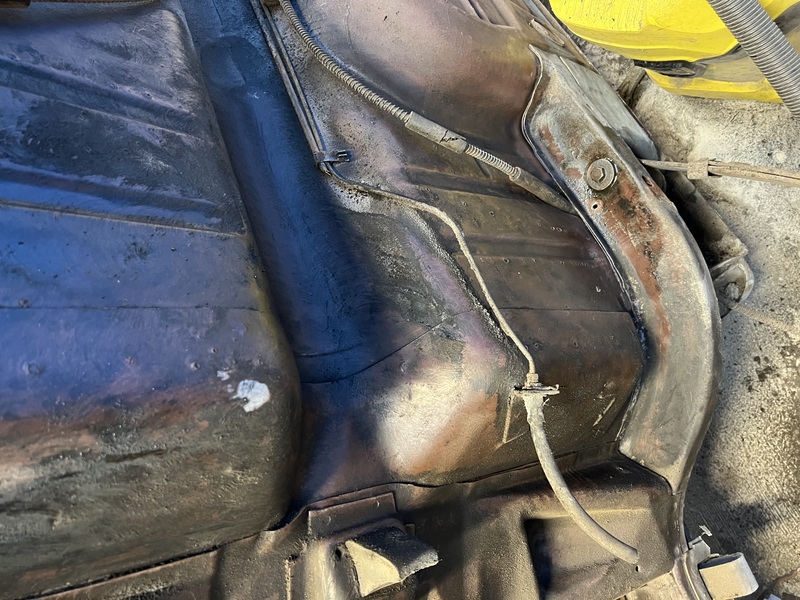
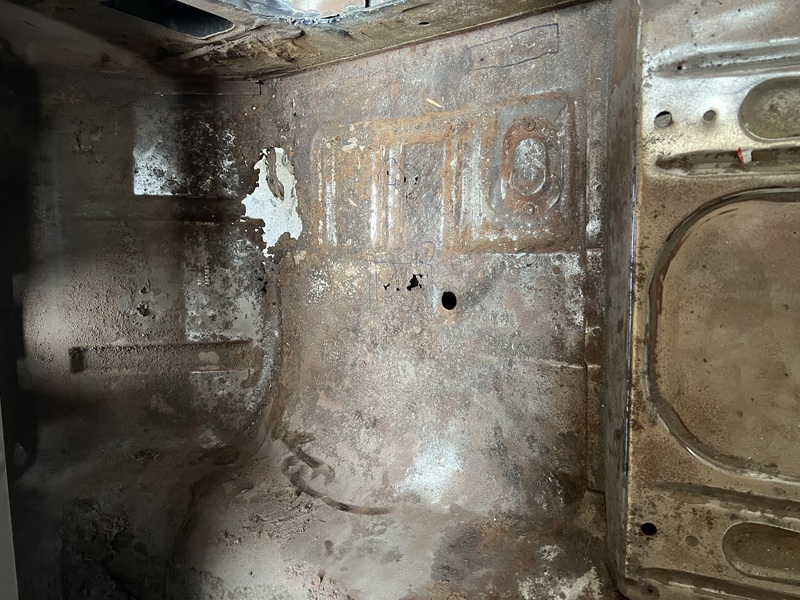
The two big rusty areas on this car were the cowl tank and the floors. The funny thing about the rust in the floor is that it rusted from the inside out rather than the other way around. It looks like the issue was not the car sitting in the damp Irish weather and rotting the car from the bottom up. What actually happened, is that a little water leaked in through the bad cowl tanks and pooled in the floor. You can see it in the pitting on the inside of the floor pan. So, if it weren’t for the bad cowl tanks, the floor probably would have been totally fine.
Patching the steel #
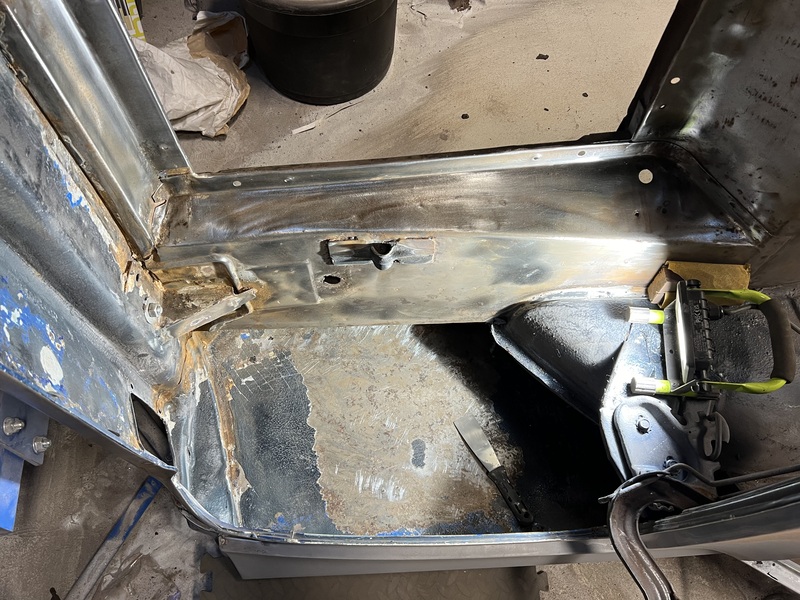
Passenger side floor #
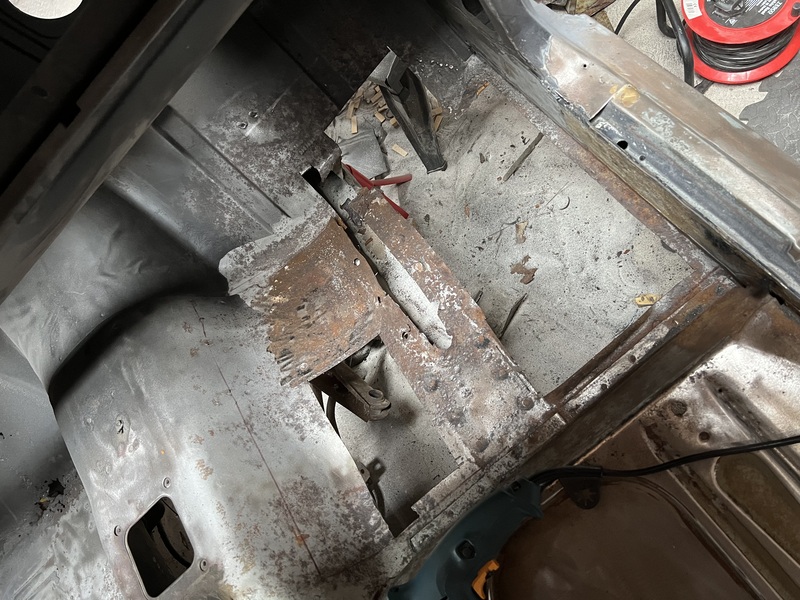
The passenger side (RH) floor was by far the worst part of the whole floor. Not only was there a fist-sized hole in the curved part, there were lots of other smaller holes all throughout. The whole front right floor pan had to be replaced. I cut out the whole pan and welded in a new replacement.
I cut out a bit more than in the second photo below, but I left the piece that ties into the end of the frame rail. I didn’t want the frame rail shifting around and that piece was still perfectly solid. The patch piece just sits on top and overlaps everything.

I got the replacement cowl tank and floor pan from stang-parts.de. I’ve no affiliation with them.
Driver side floor #
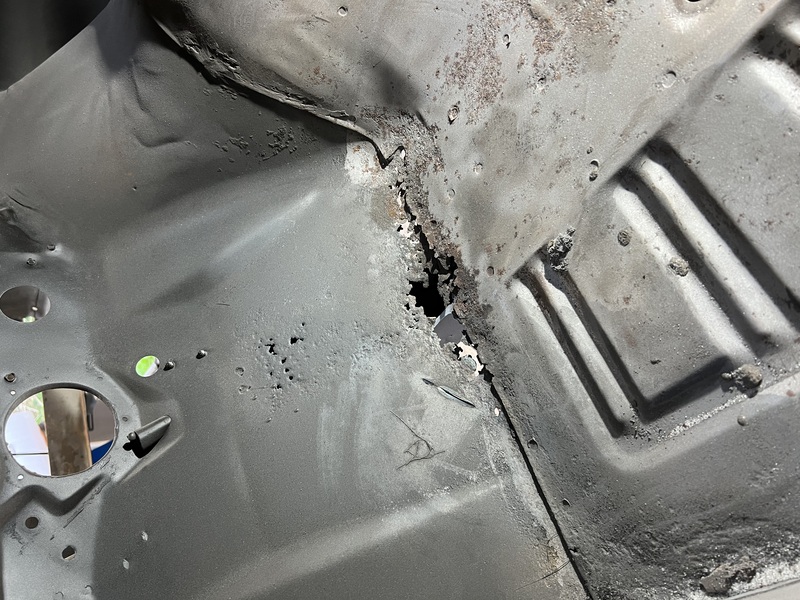
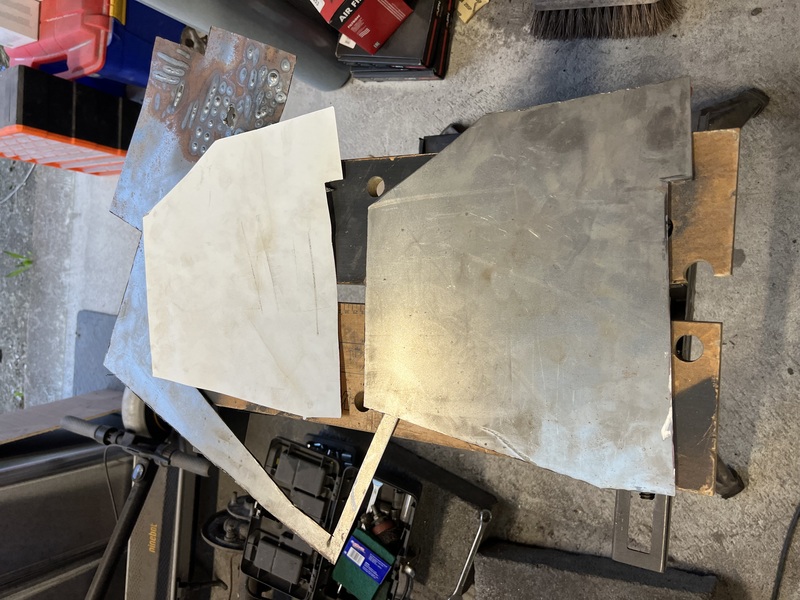
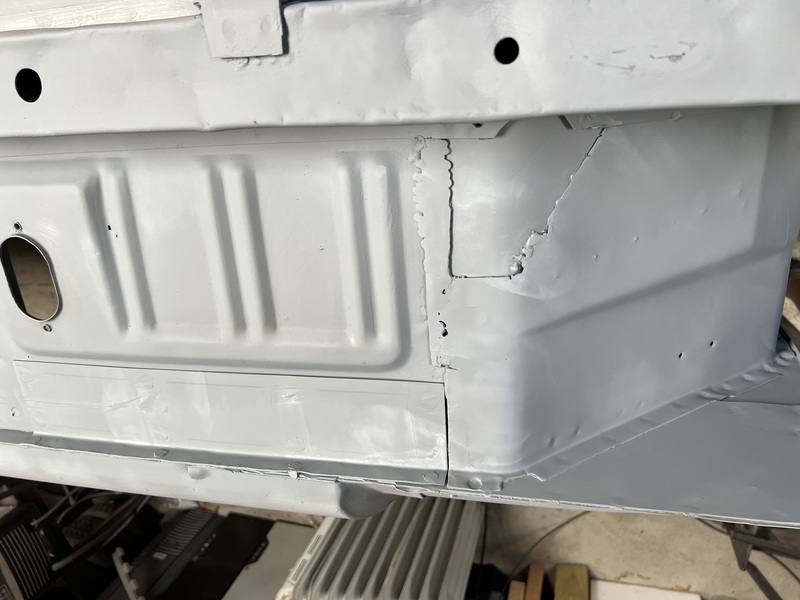
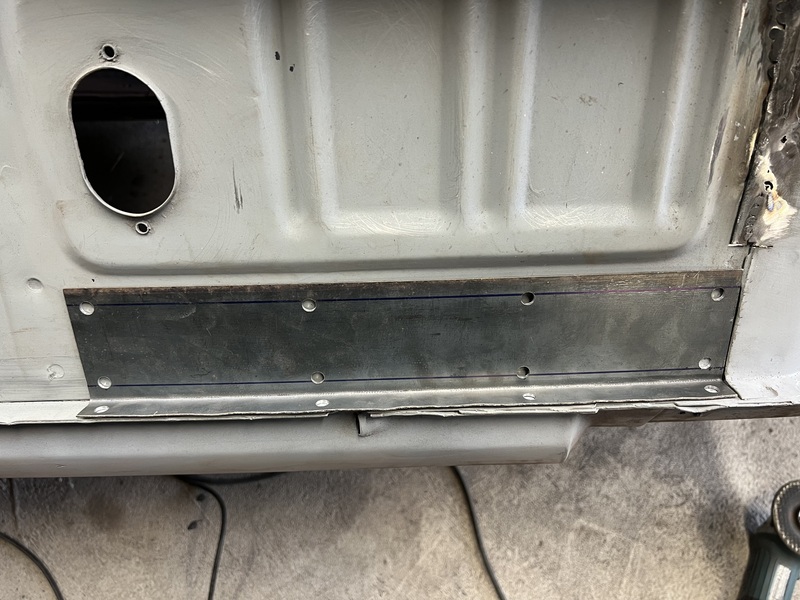
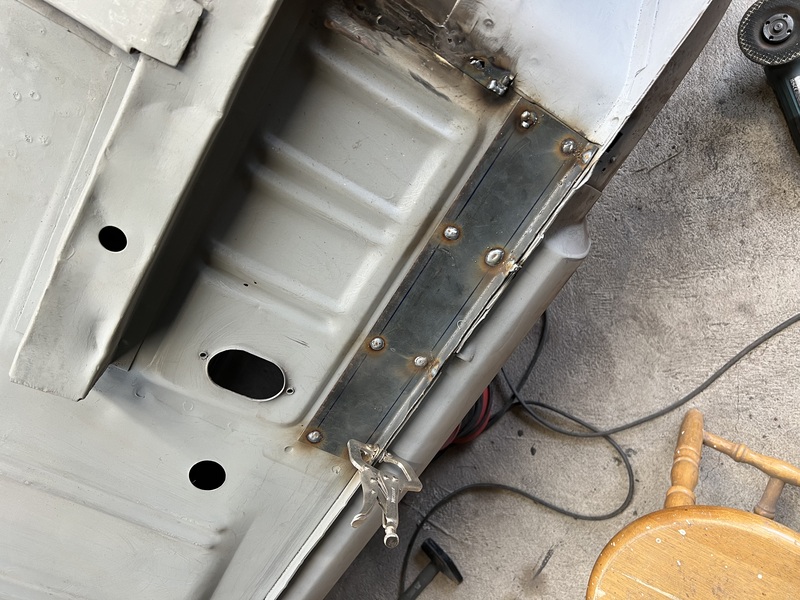
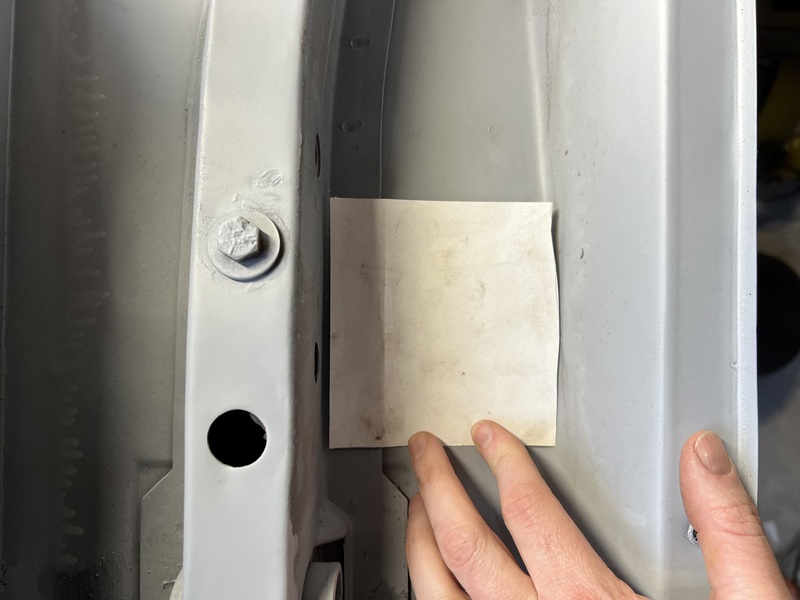
The driver side (LH) floor wasn’t in great shape either, but it was much better off than the passenger side. In this case I opted to make up my own patch piece to replace the bad metal rather than replace the whole pan.
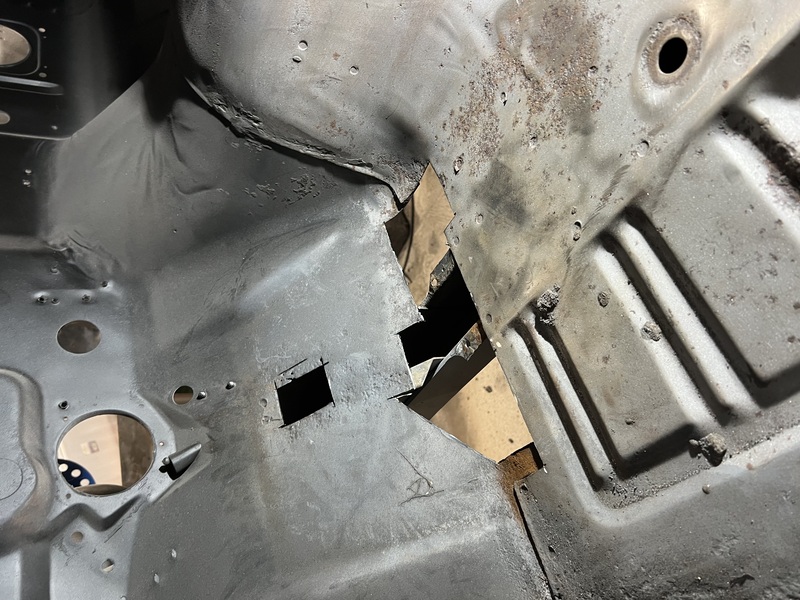
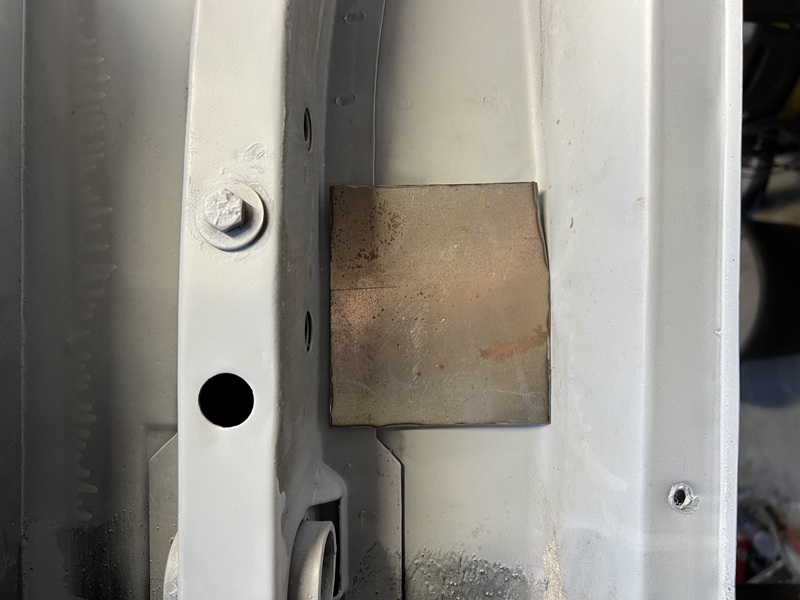
Again, I started by cutting out the bad metal. I used a piece of paper to make a template for the patch I wanted. Transferred the patch to some 1.5mm sheet and cut it out.
To get the bend, I just put the piece in a vice and bent it by hand until I got the fit right.
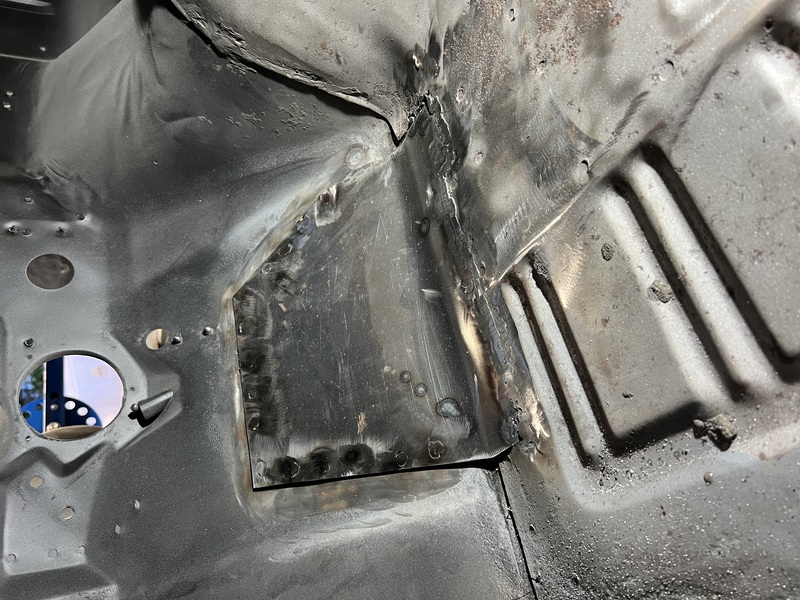
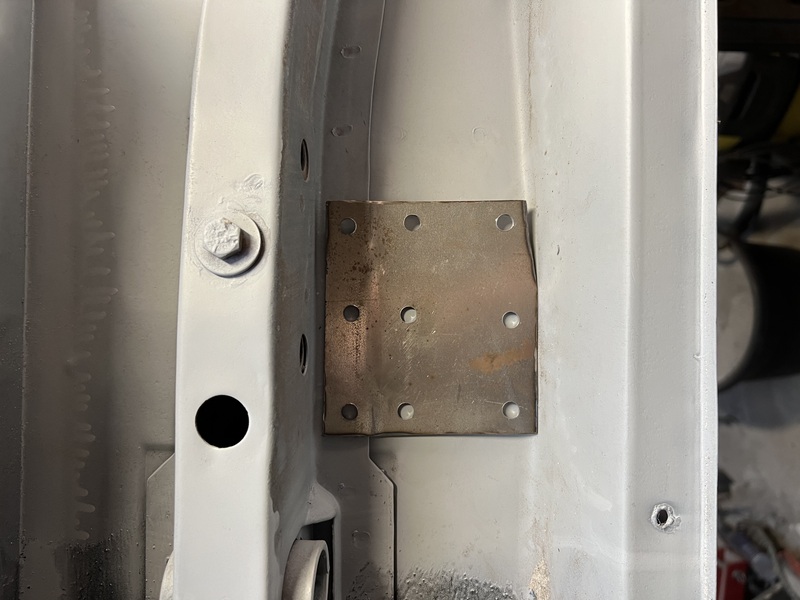
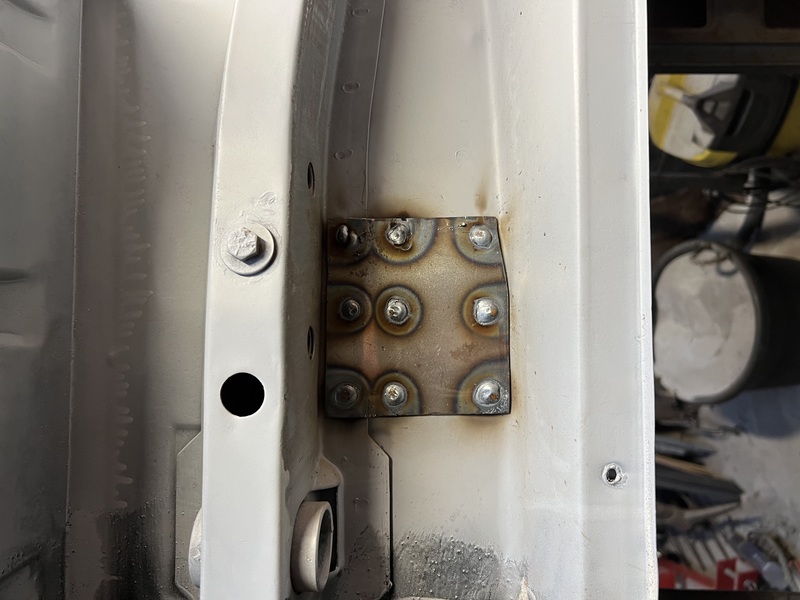
For the upper part, I drilled holes around the perimeter and flood welded them to the original floor. For the lower part, I did some very nasty butt welding. Grinding and re-welding a few times to get it looking half decent, but I got there in the end.
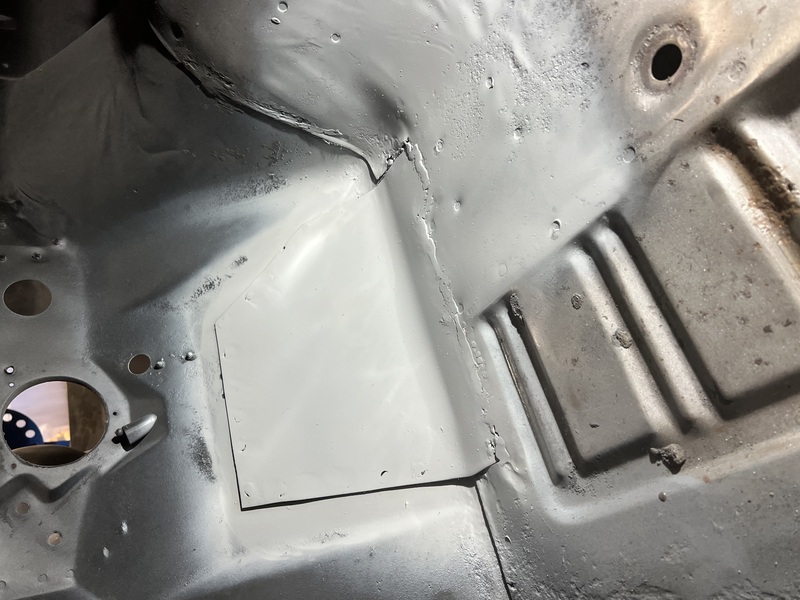
I also put a couple of extra patches over the underside to cover the joins to make it tidier looking.
It’s not beautiful, but it’s under the car and it’ll be covered in seam sealer soon enough.
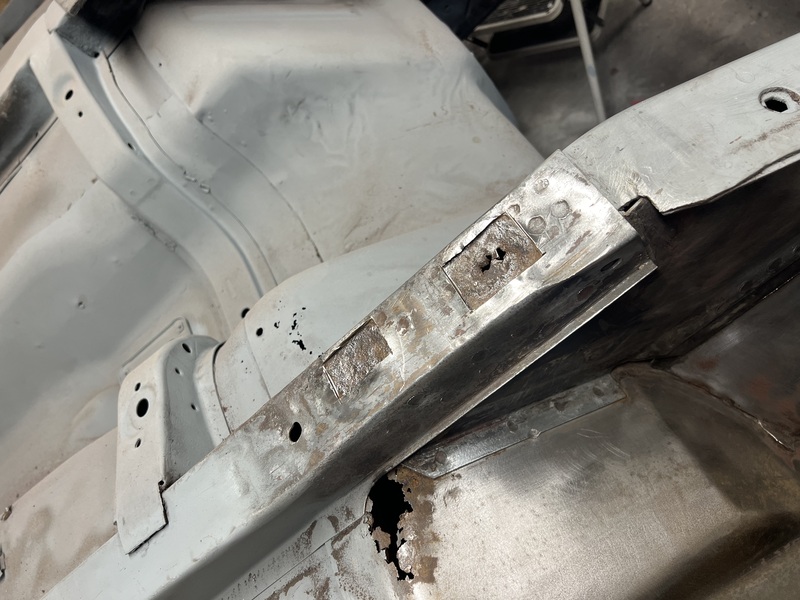
There were also a couple of rust holes in the bottom of the frame rail. I cut out the rot and welded in a patch flush.

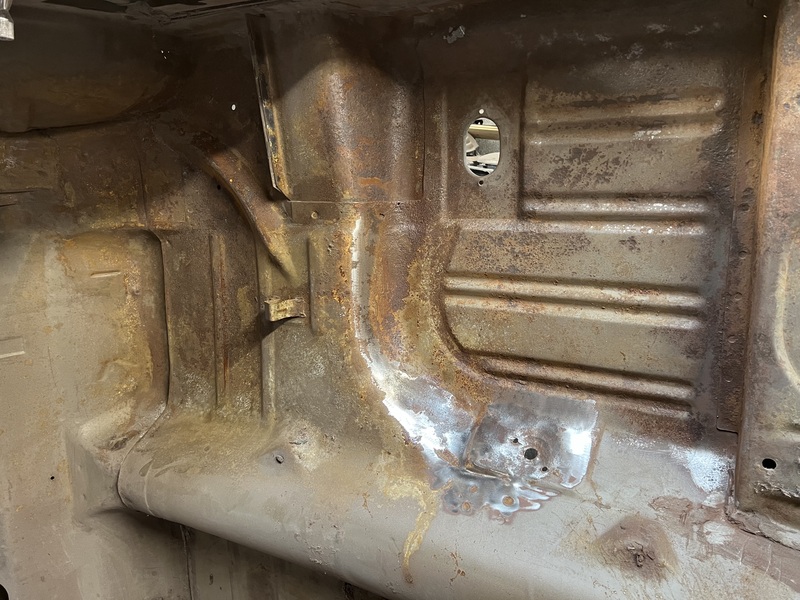
Driver side, underside #
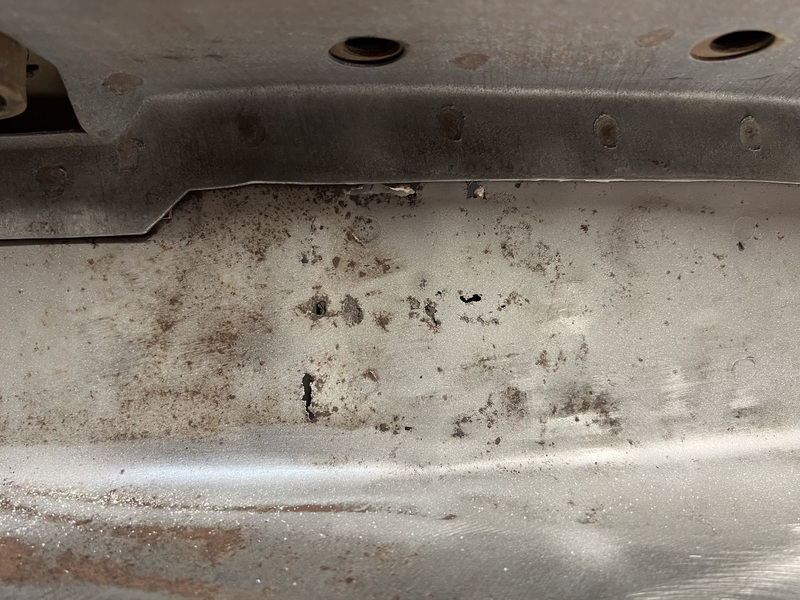
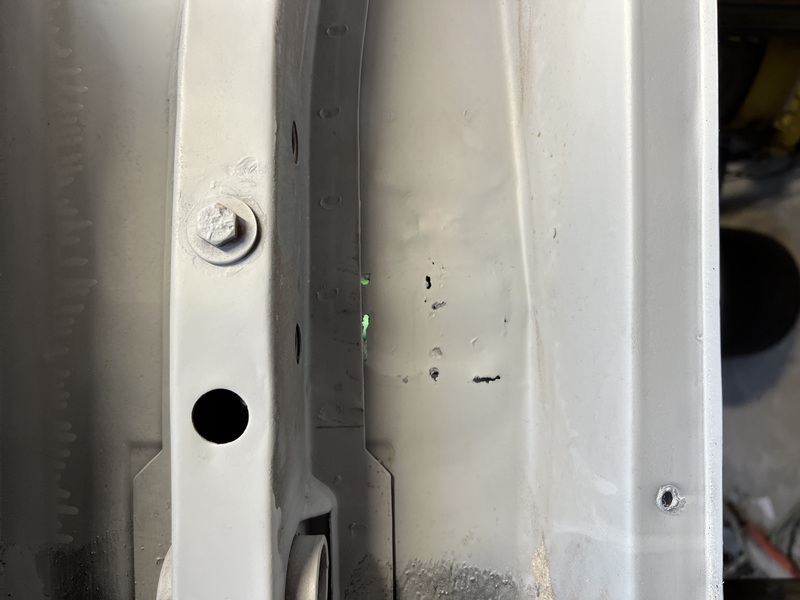
There was some pitting on the inside of the driver side floor pan near the rocker/sill along with a handful of small holes. I decided to reinforce that section just in case by welding a patch over the whole lot. I also put a bend in it and welded it into the back of the rocker.
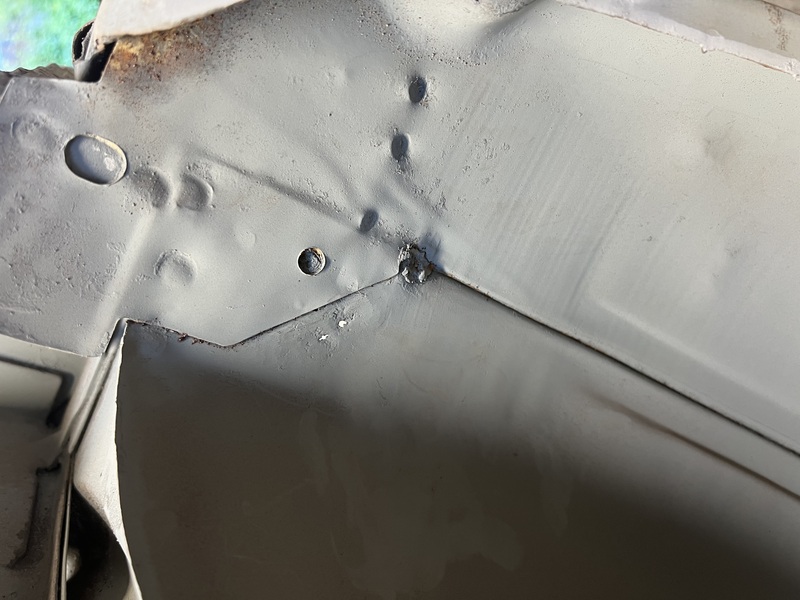
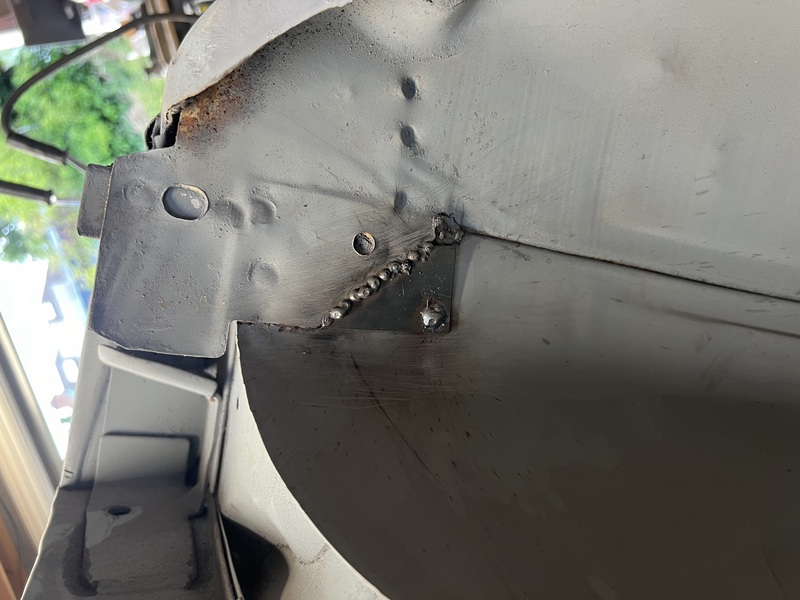
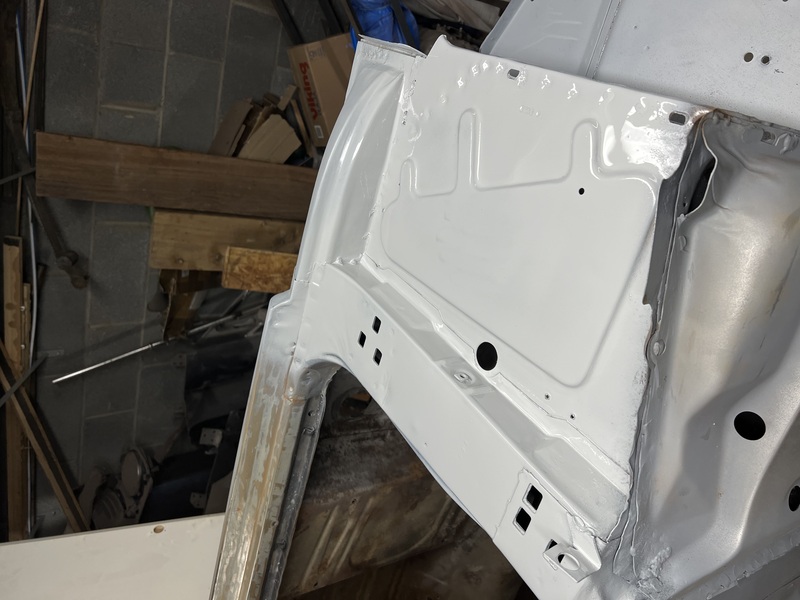
Boot floor #
There’s a bracket inside the boot which I think is to hold down the spare wheel. The area around this bracket was rusted through in a handful of small holes. I guess this is from a wet wheel sitting there and slowly rusting through the floor of the boot. I made a small patch to cover over the holes.
It’s hard to see in the pictures, but I put a little ‘step’ in the patch so that it sit neatly over the lip of the frame rail. I did this by putting the patch in a vice, with a little scrap metal on either side to form the step.
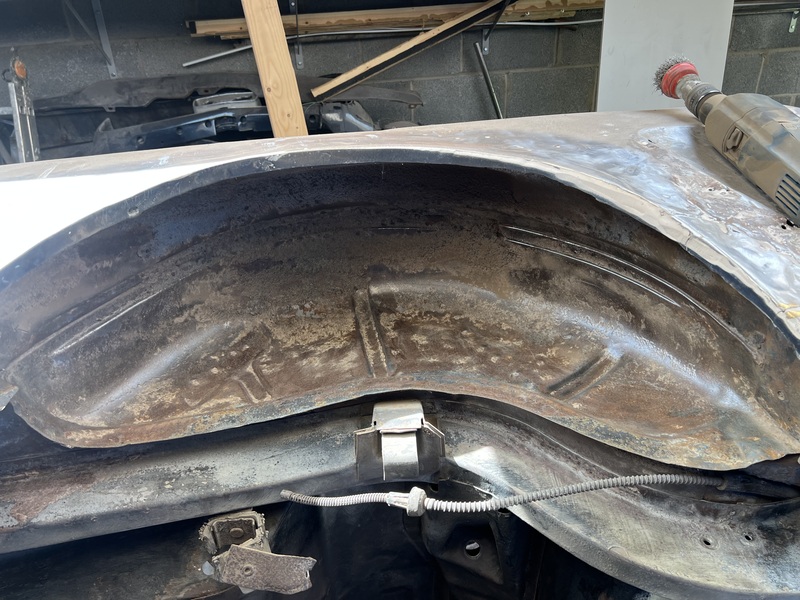
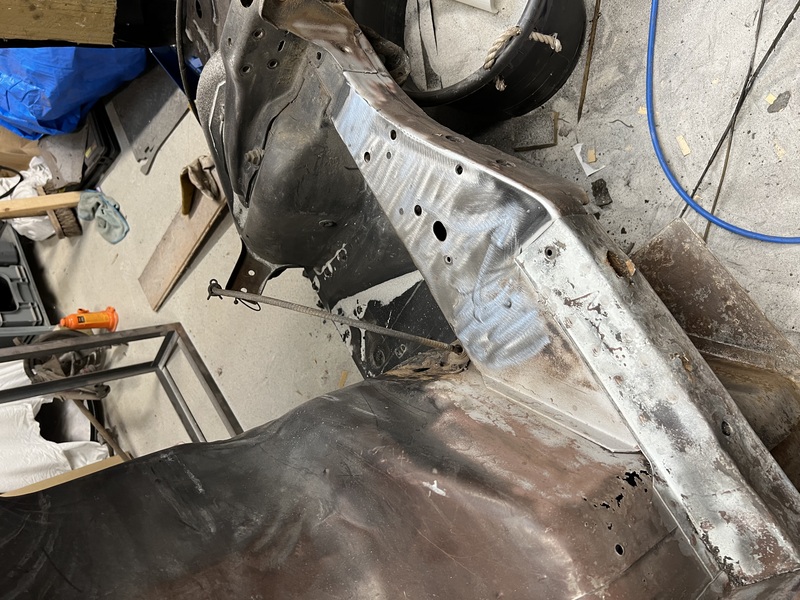
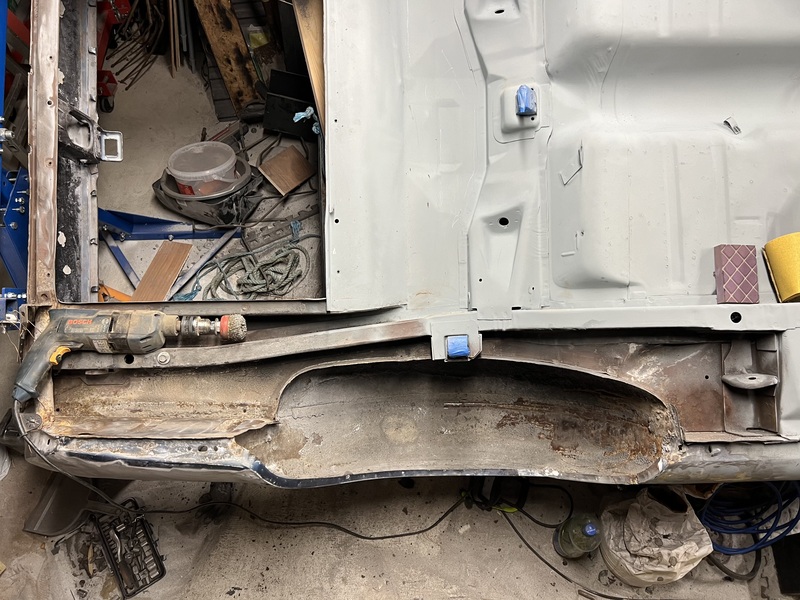
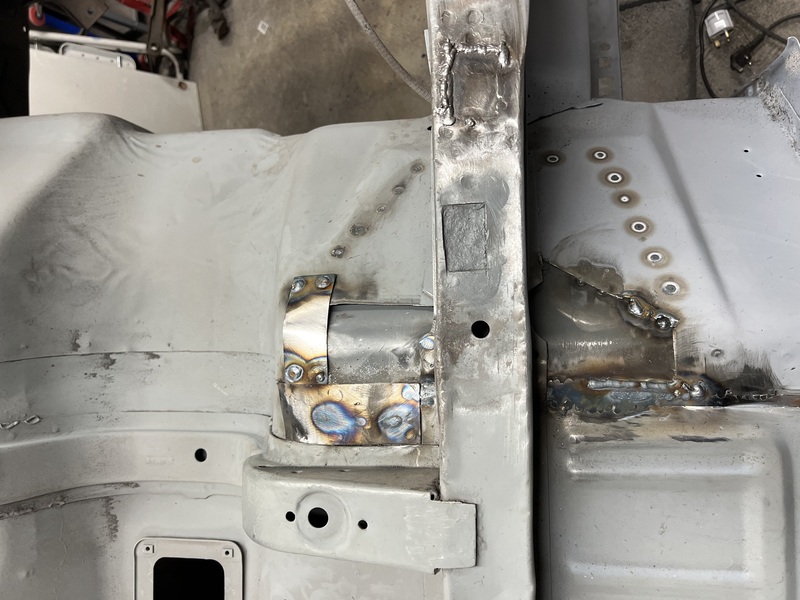
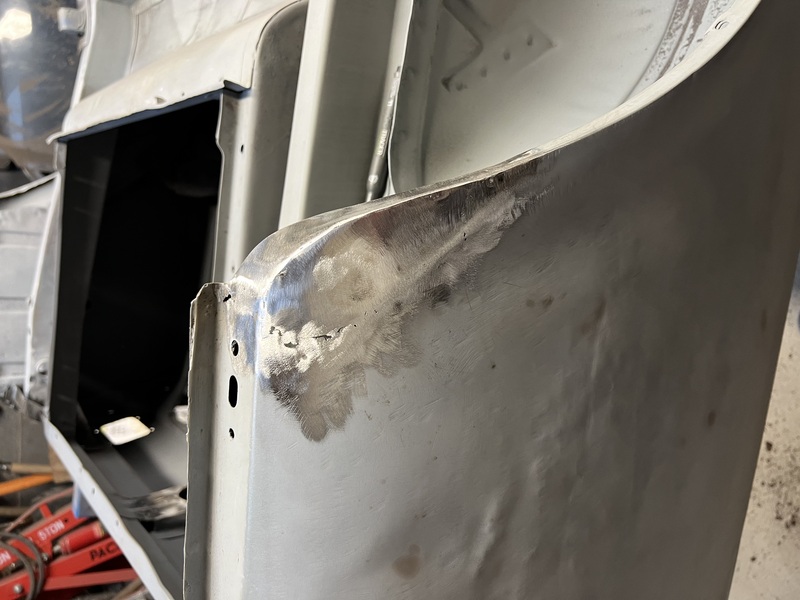
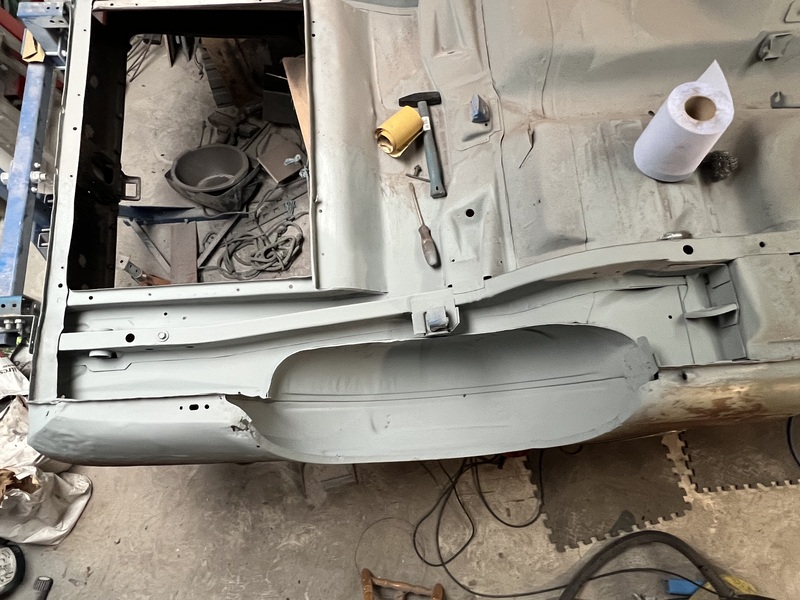
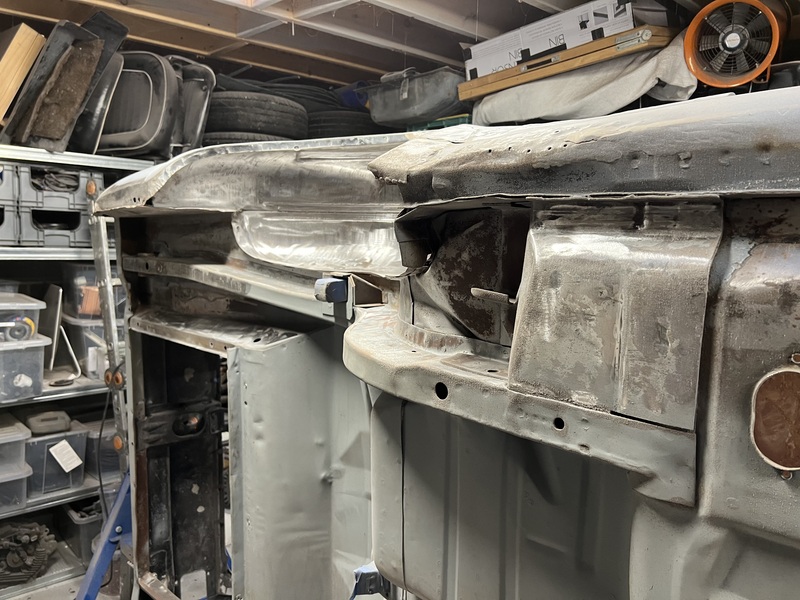
Rear wheel arch #
This was the repair that I was most happy with. It was by far the trickiest as there were some complicated curves and bends in it. It was also the most likely to go wrong.
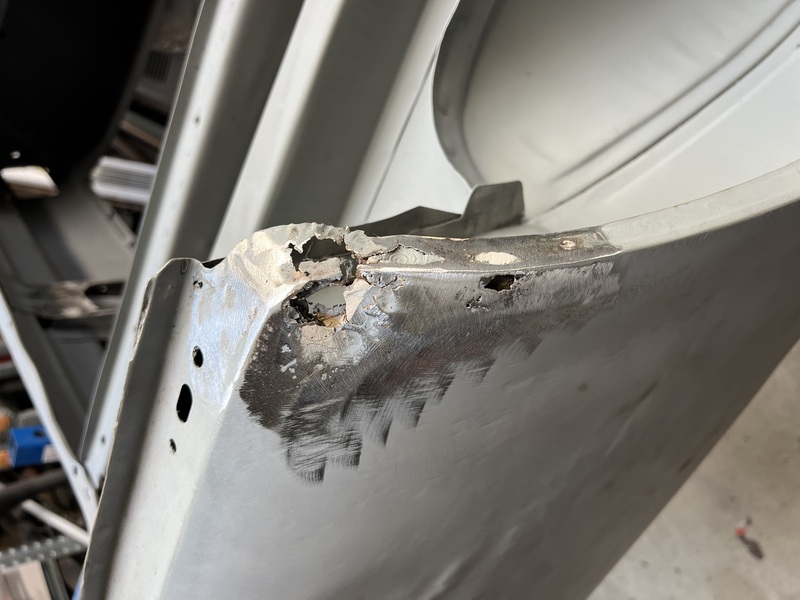
There was a pretty nasty bit of rot in the wheel arch that had just been filled up with filler in the past and painted over. There was a hole in the outward face and the lip that runs around the wheel arch. I tackled each bit separately starting with the lip.
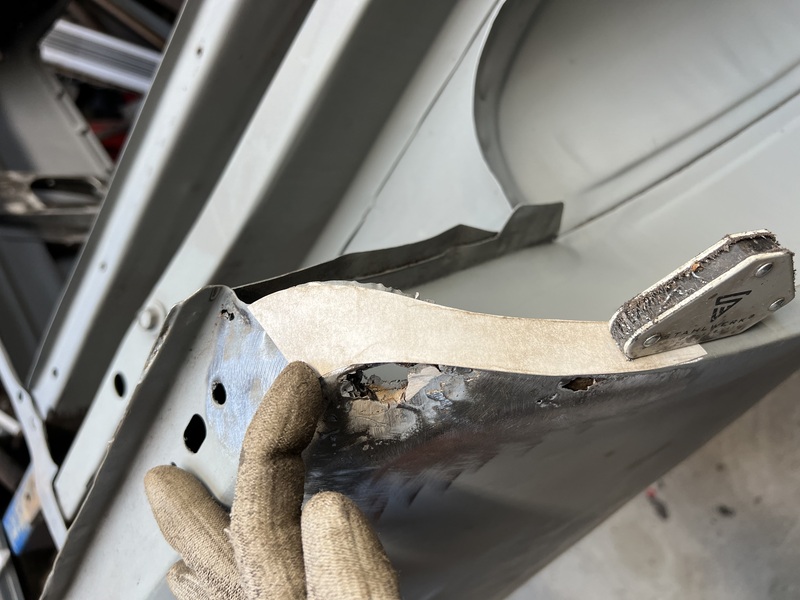
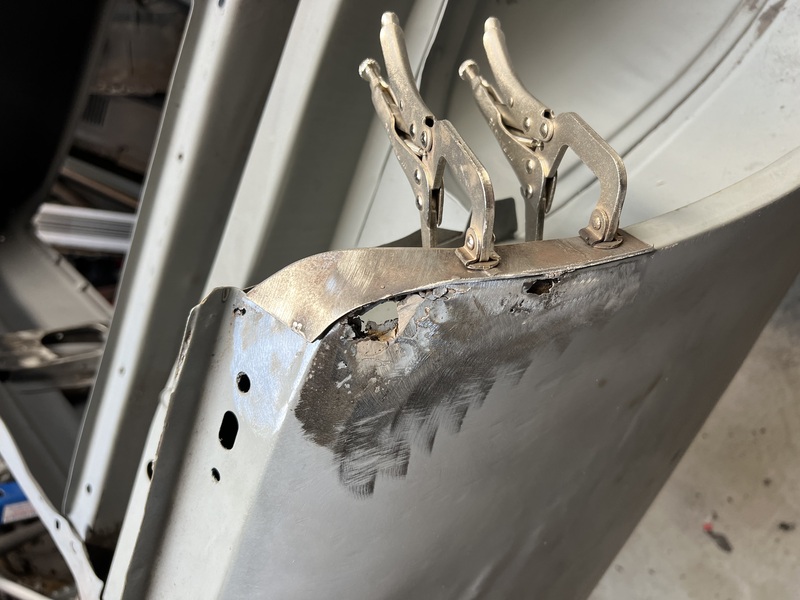
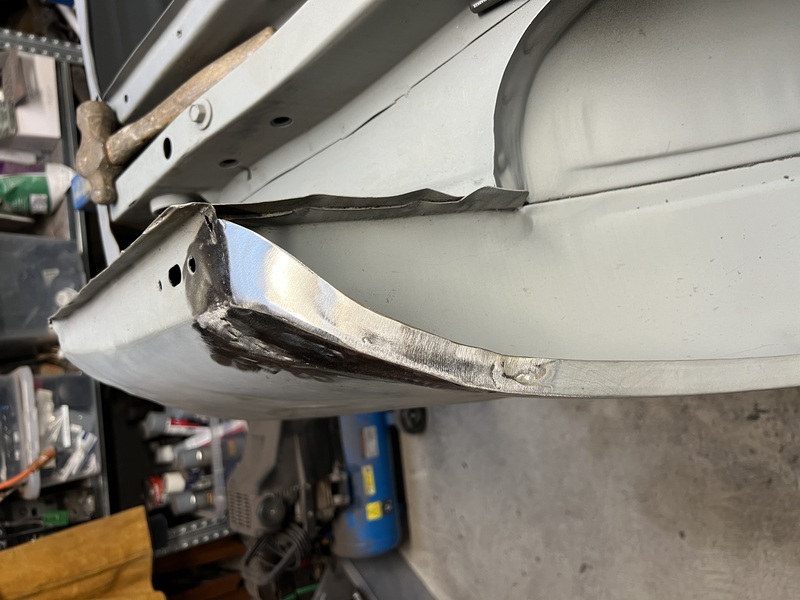
I used a bit of paper to trace out the curved shape of the lip. It curves in, then out, plus it’s veering in towards the middle of the car at the same time. I transferred this template to some 1.5mm sheet and cut it out roughly with an angle grinder. I then used a flap disc to grind the edges down to the curved shape. I then just bent this piece by hand to get the curve around the wheel arch right. It fit really well first time with no hassle. Then comes the brave bit where you have to actually commit to the plan and start cutting out the old metal. With the new piece clamped in place, I just used an angle grinder to cut a line across the top and bottom of the replacement piece and the old stuff just basically fell away. Then I just welded a few tacks at the top and bottom of the new piece to hold it in place.
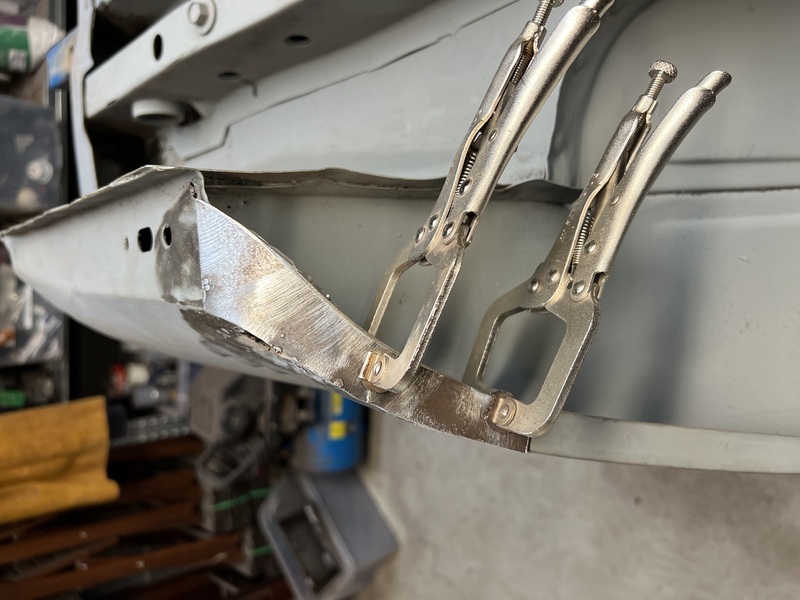
The outward facing piece was a little more tricky. It has a gentle curve which I needed to match. Again I made up a paper template of the piece I planned to replace and cut it out of a piece of steel.

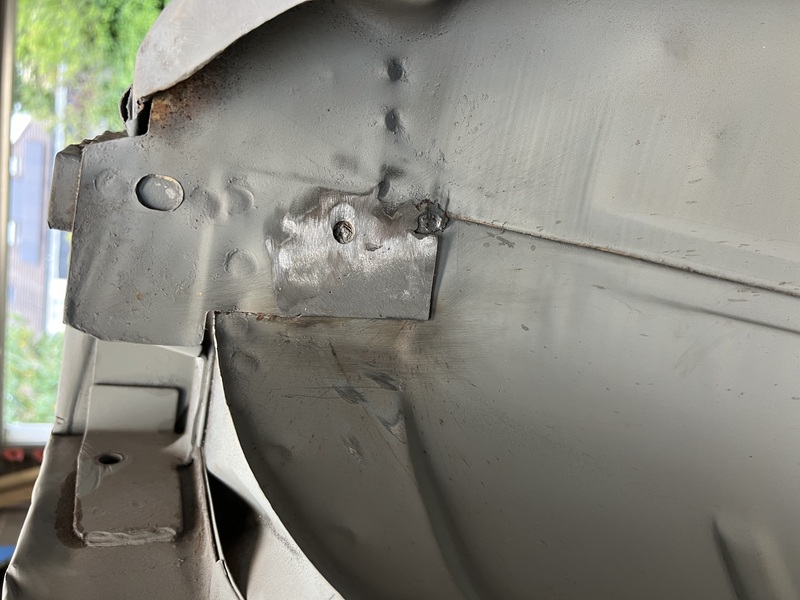
Rear wheel arch, small tab #
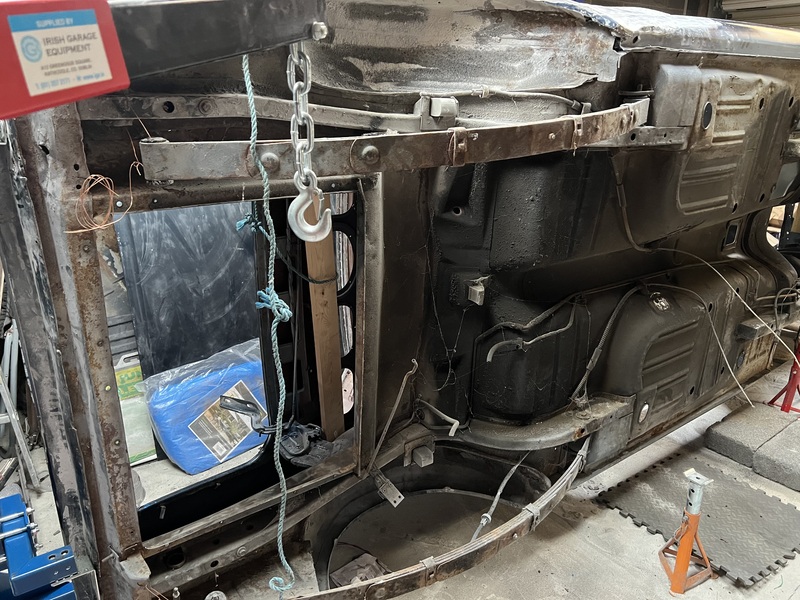
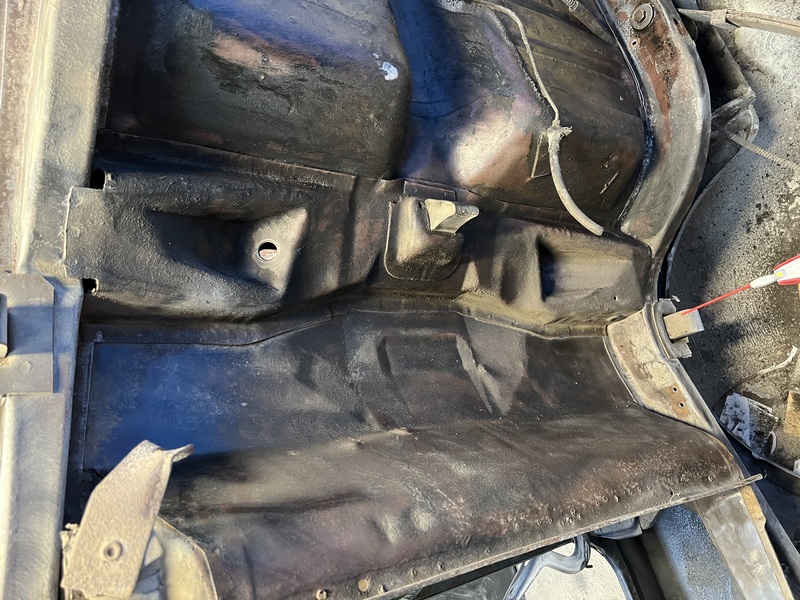
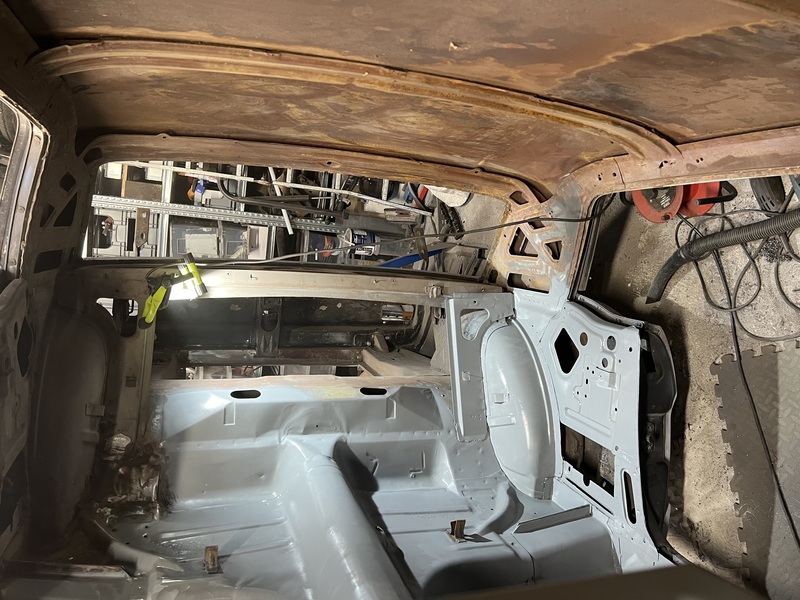
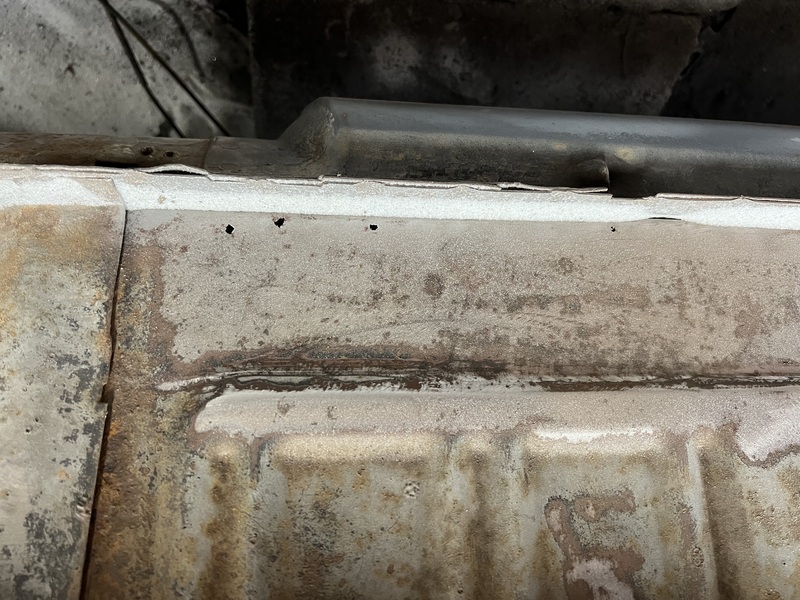
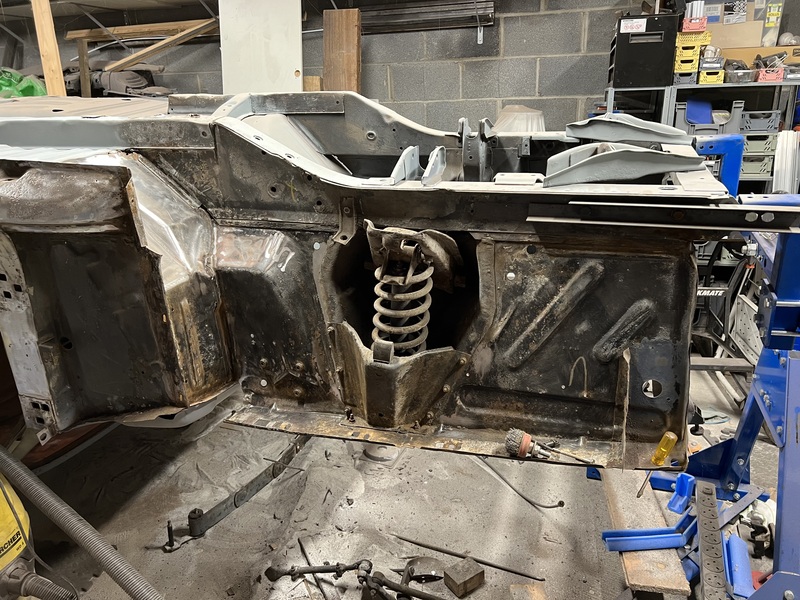
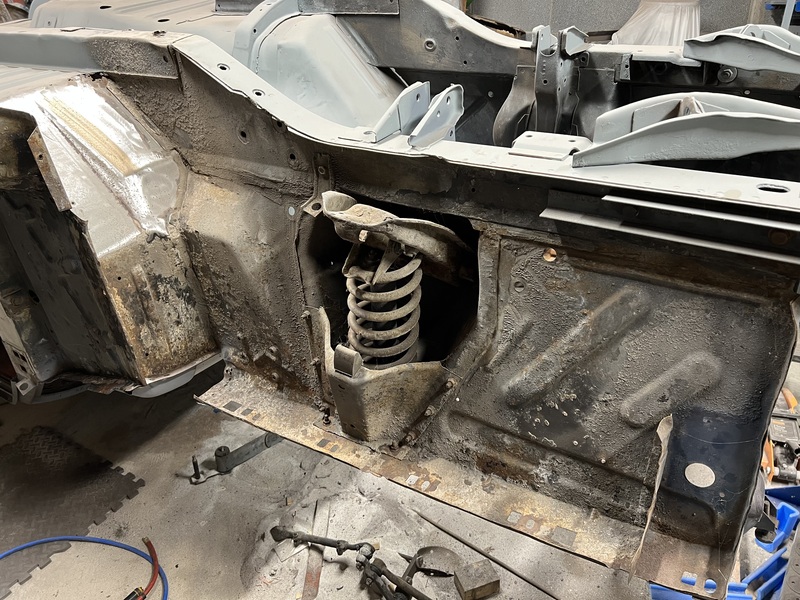
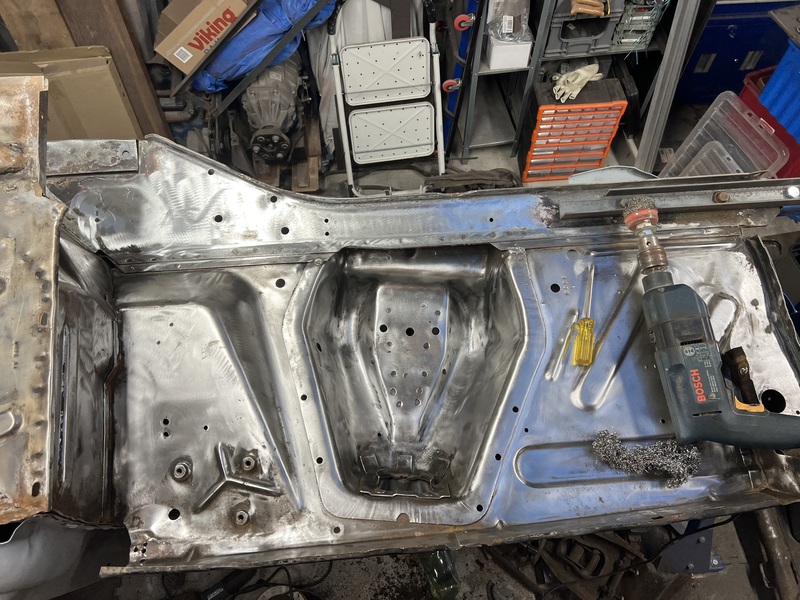
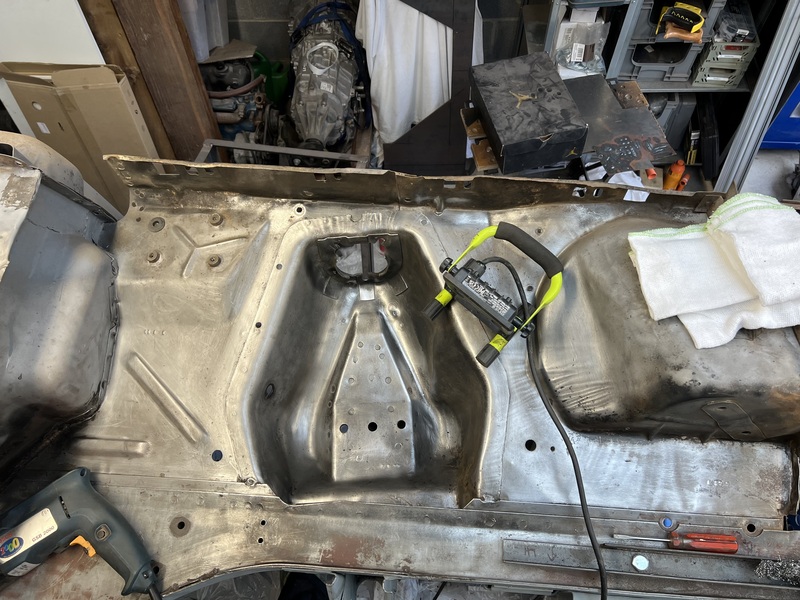
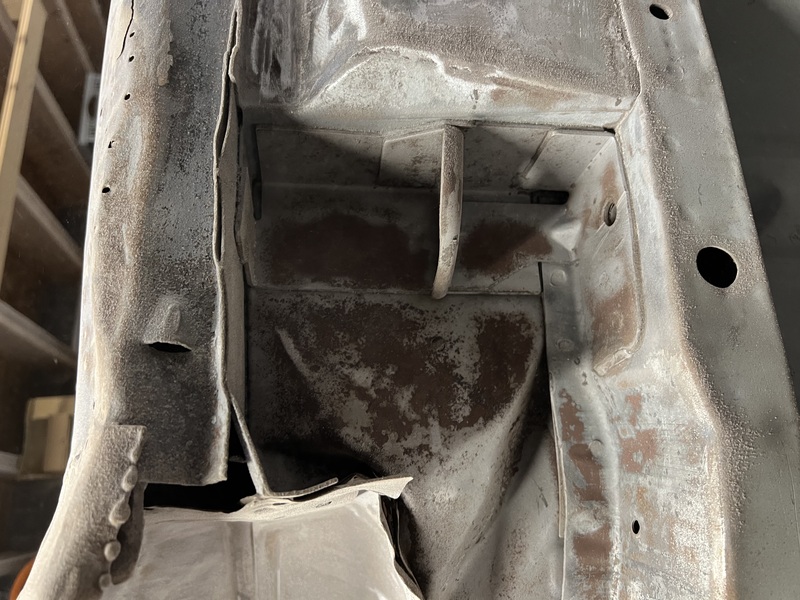
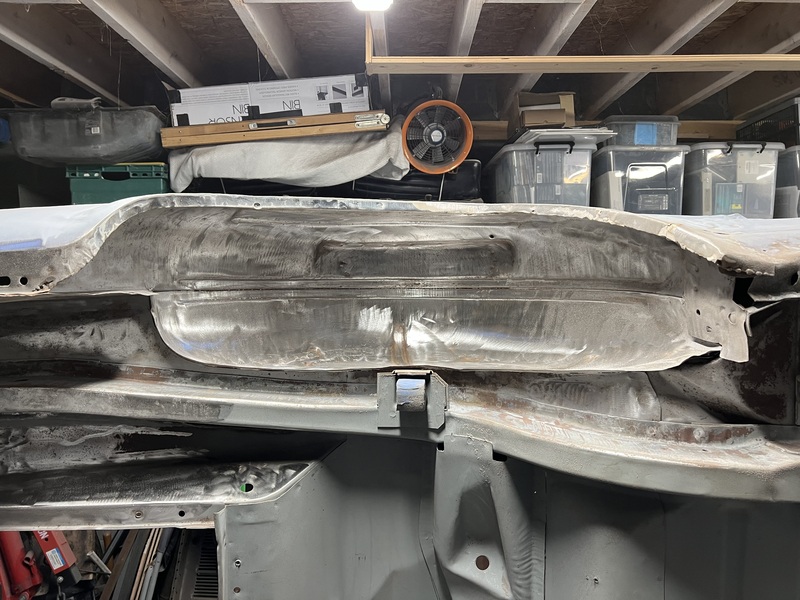
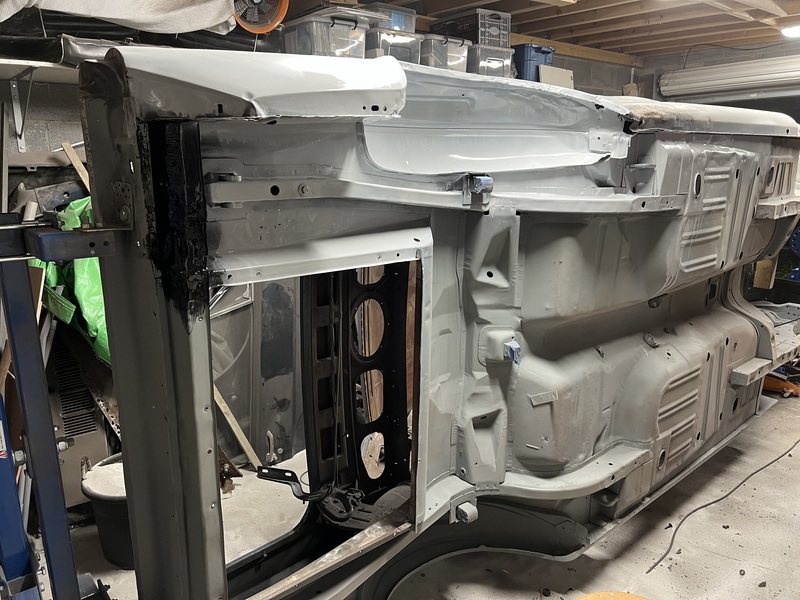
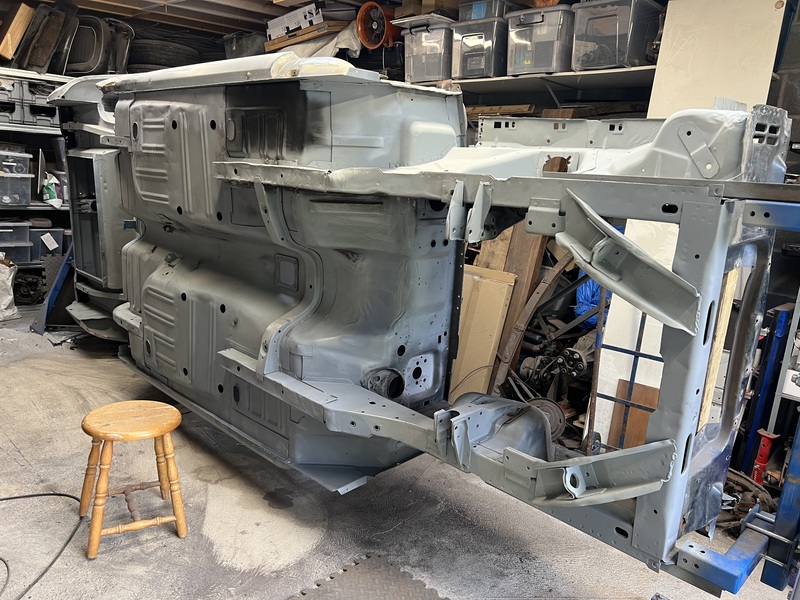
Rust removal and priming #
Here are some pictures of the process of removing all of the crud from the car and priming it.
Amazingly, it seems like the insides of the rear fenders had a thin layer of mud on them (inside the boot) and someone had just painted right over the mud.
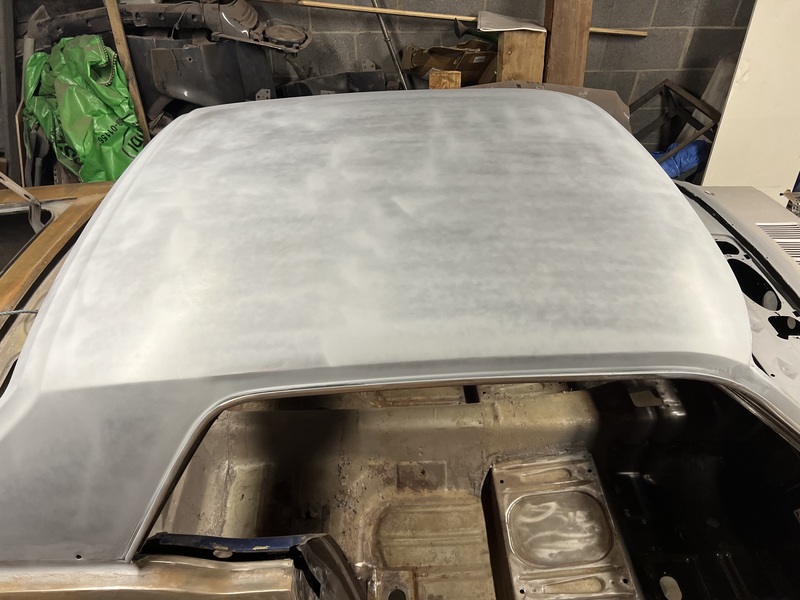
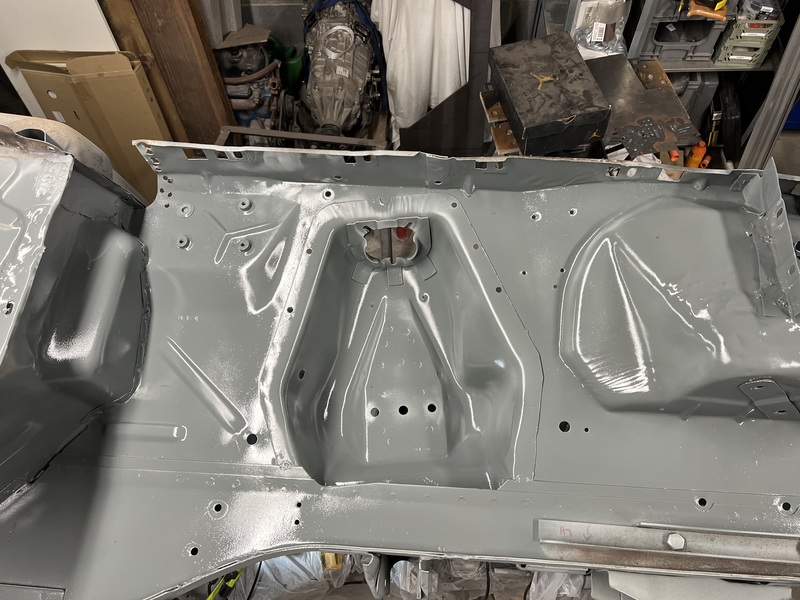
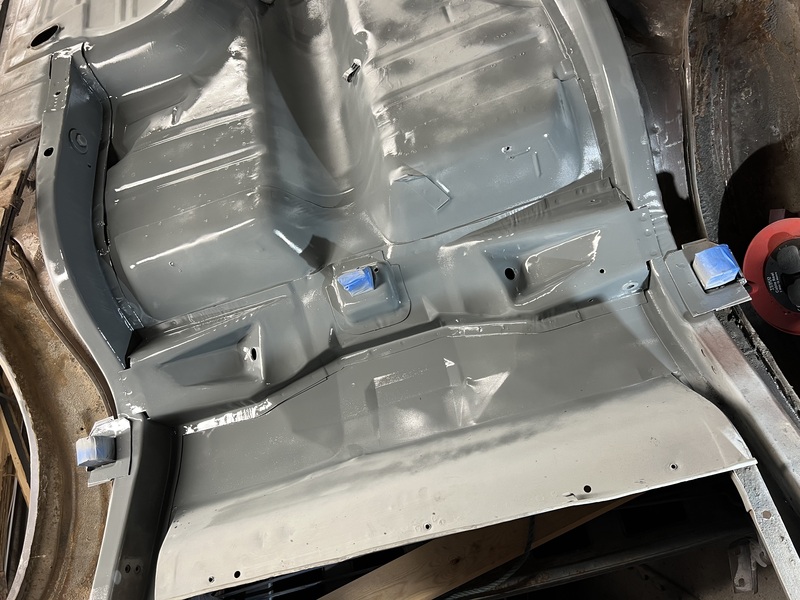
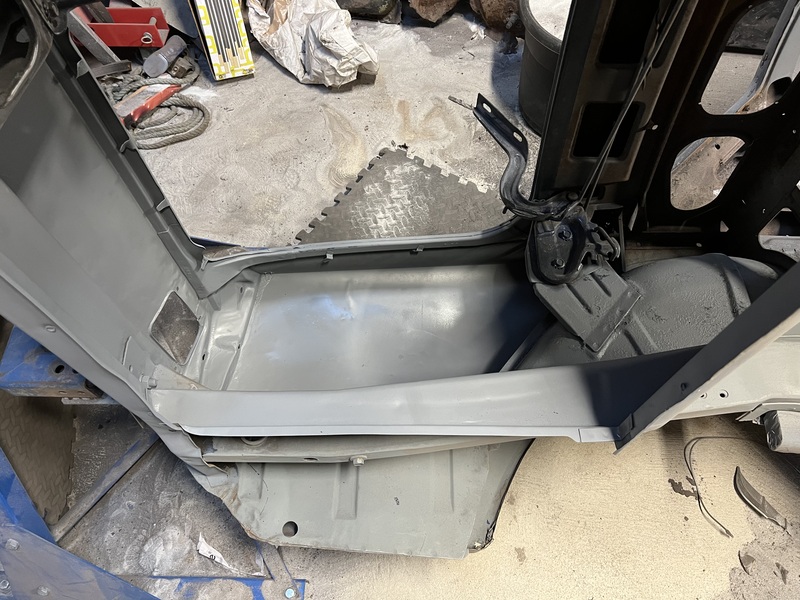
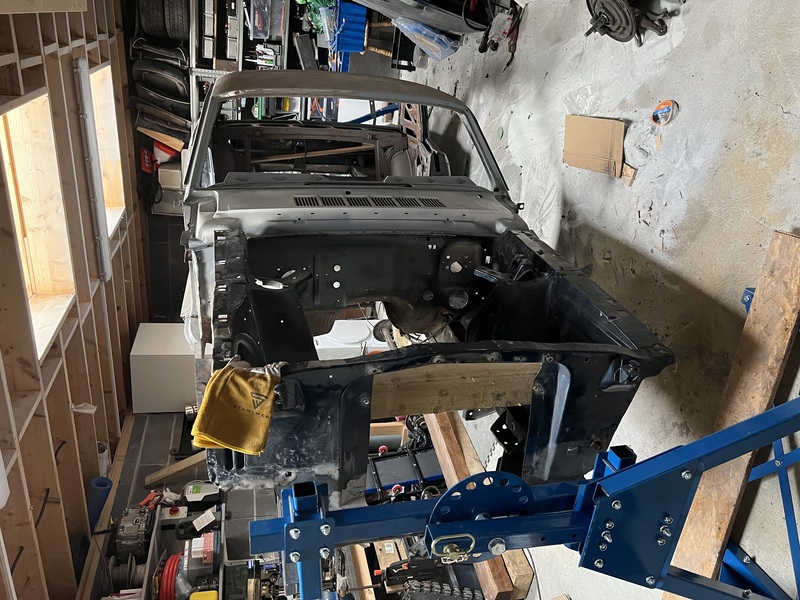
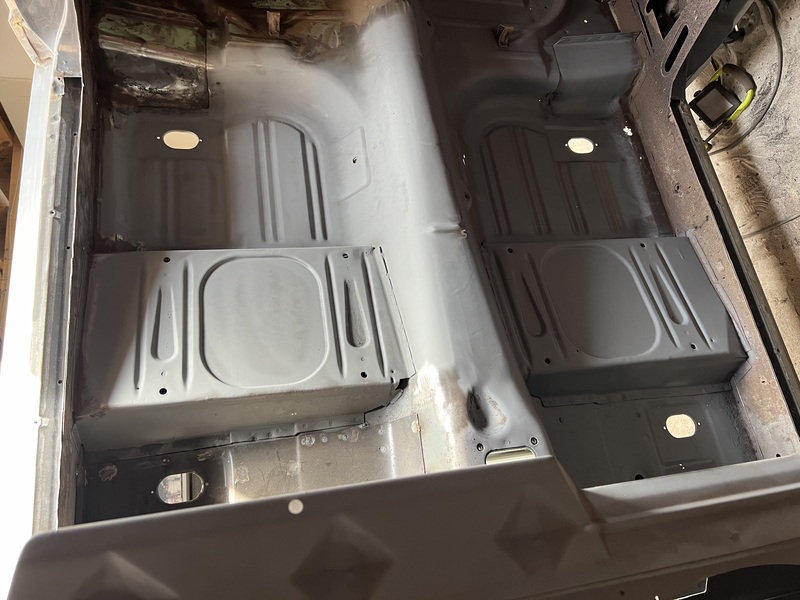
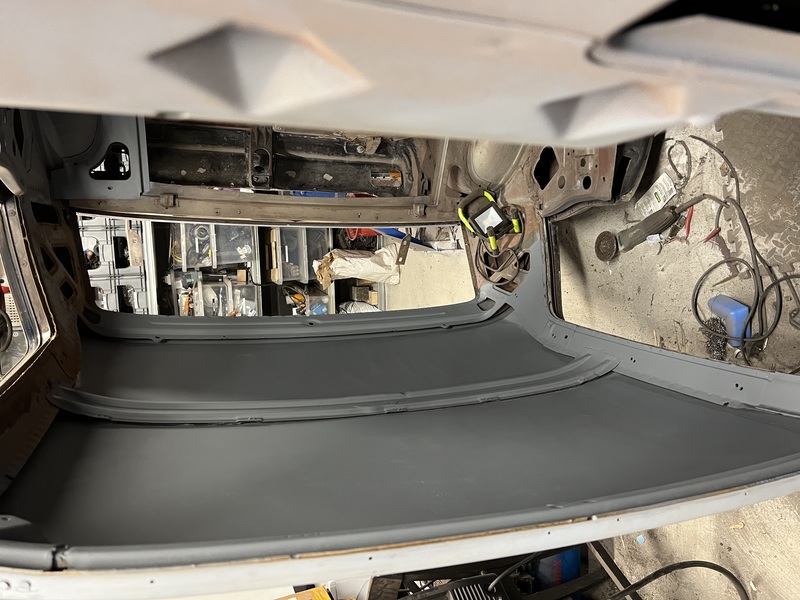
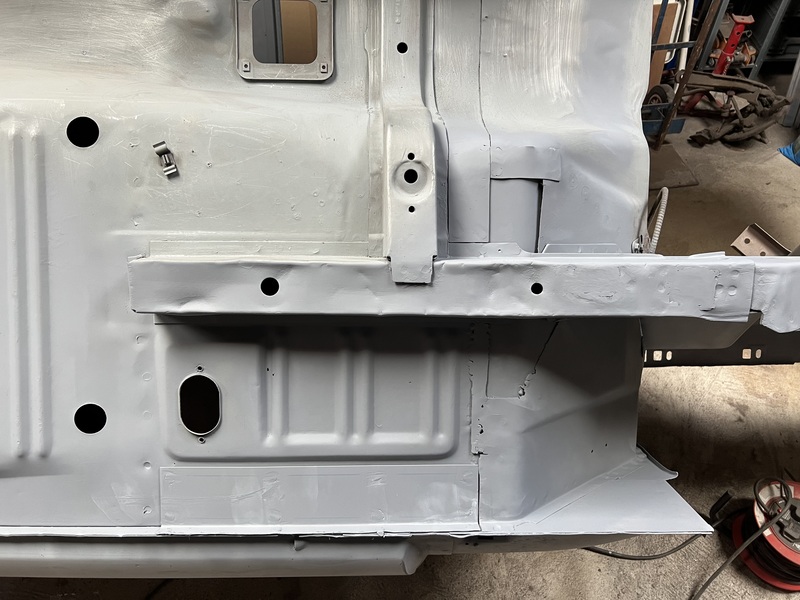
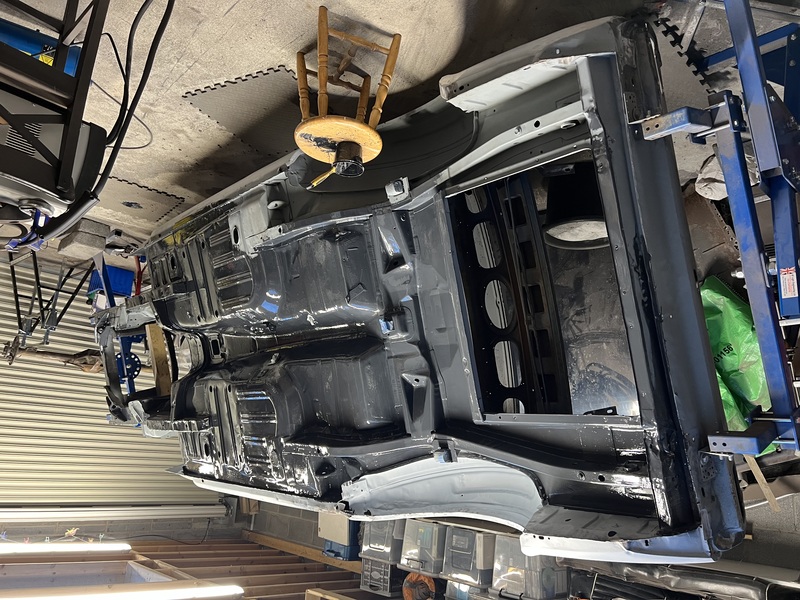
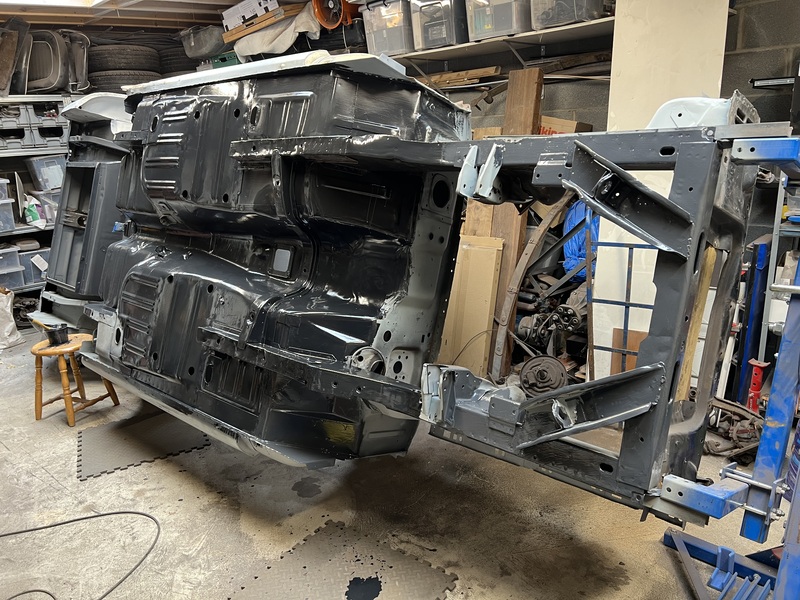
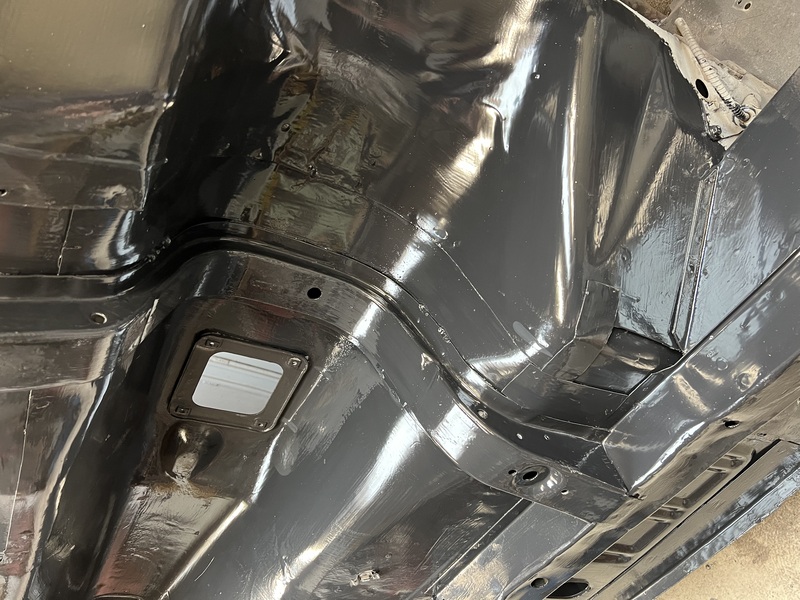
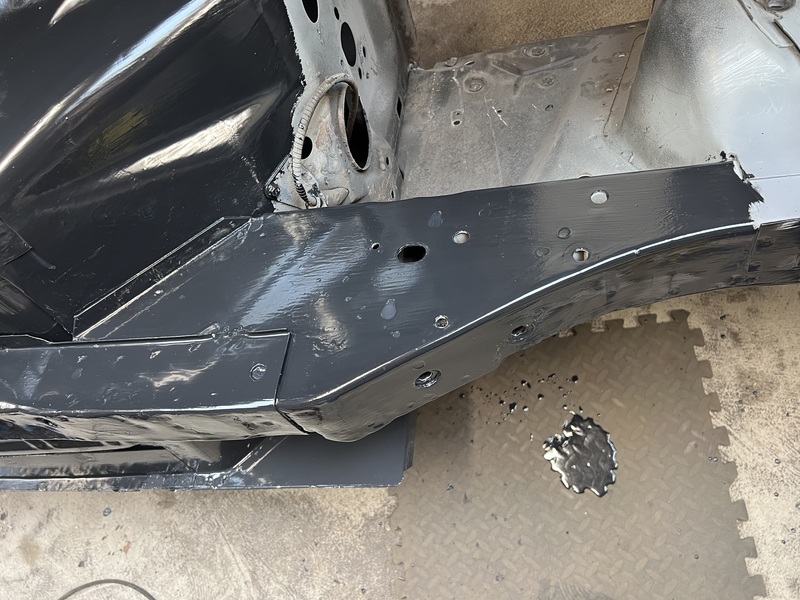
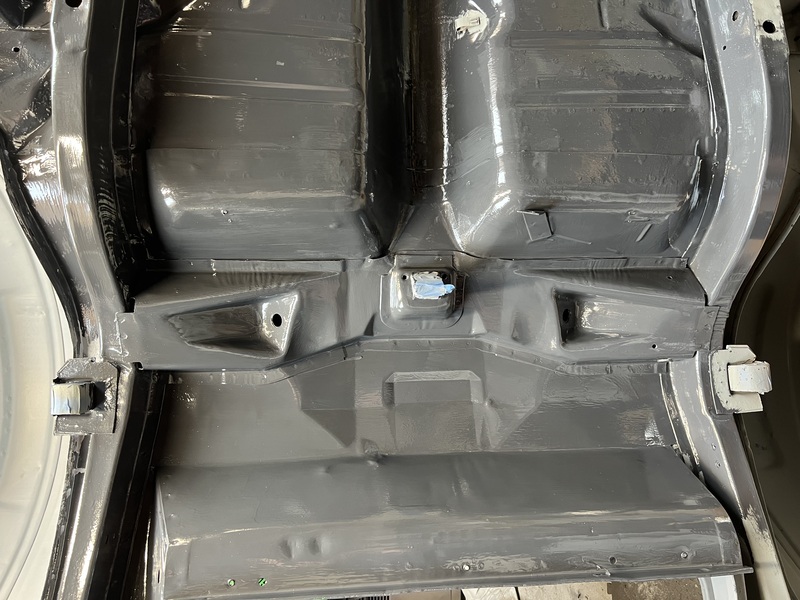
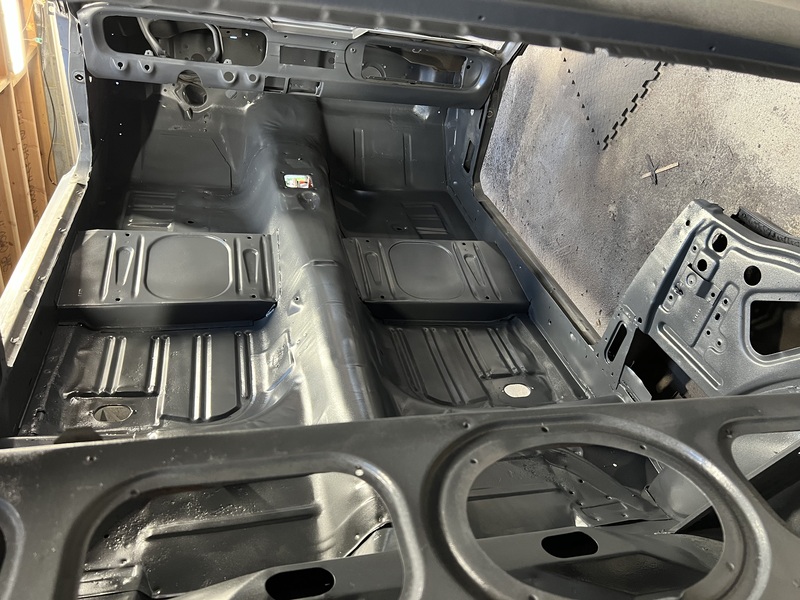
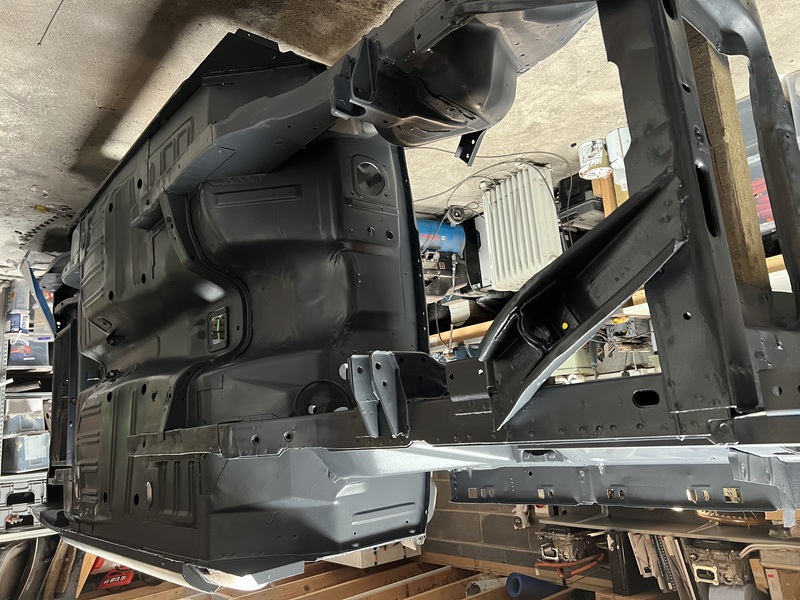
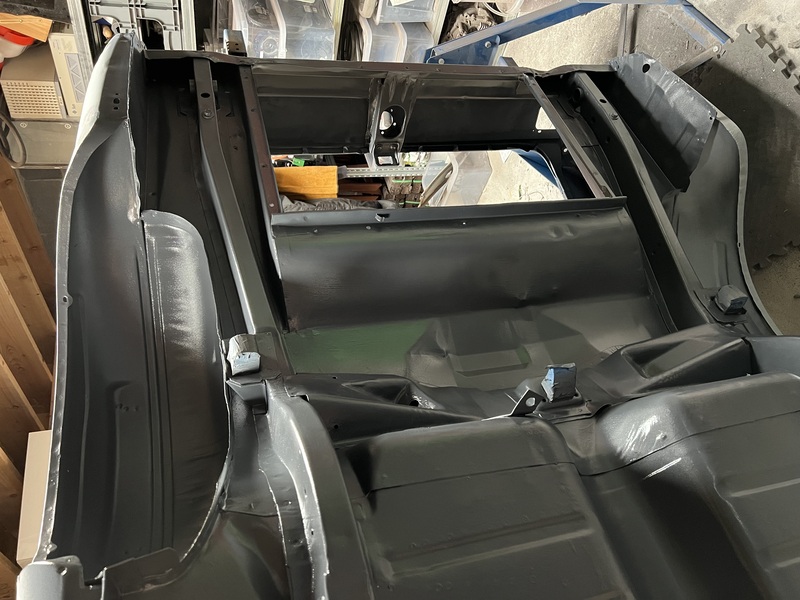
Painting #
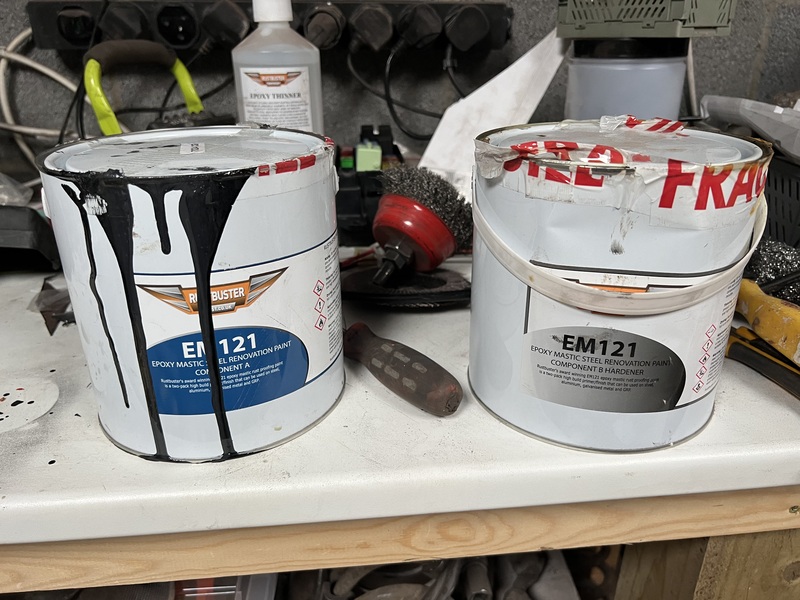
With the underside of the car cleaned, patched, and primed it was time to start putting on the ‘proper’ paint. I got some Rustbuster EM121 from Liquid Technology (no affiliation).
At first I started to just brush on the paint, but the process was slow and the finish wasn’t as nice as I wanted. Yes, it’s just the underside of the car, but I still want it to look decent. So I switched over to spraying and that gave it a much nicer finish (and went much quicker).
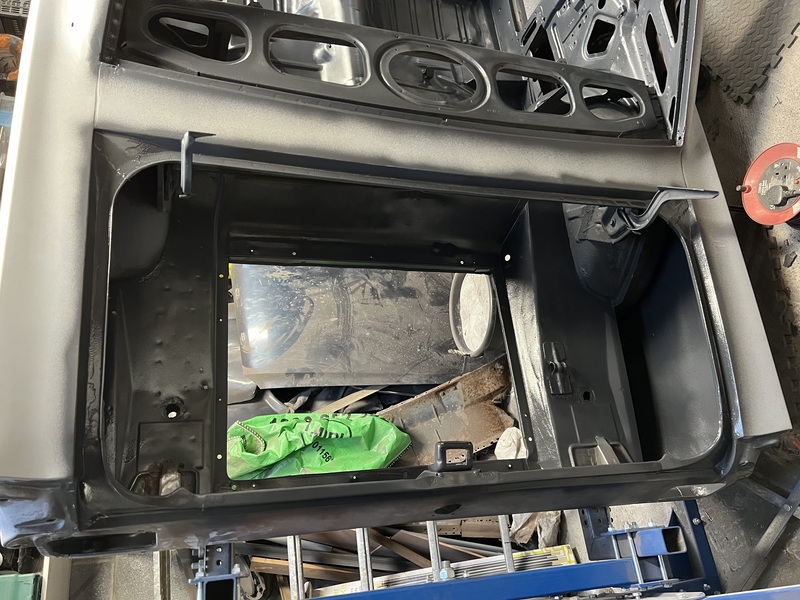
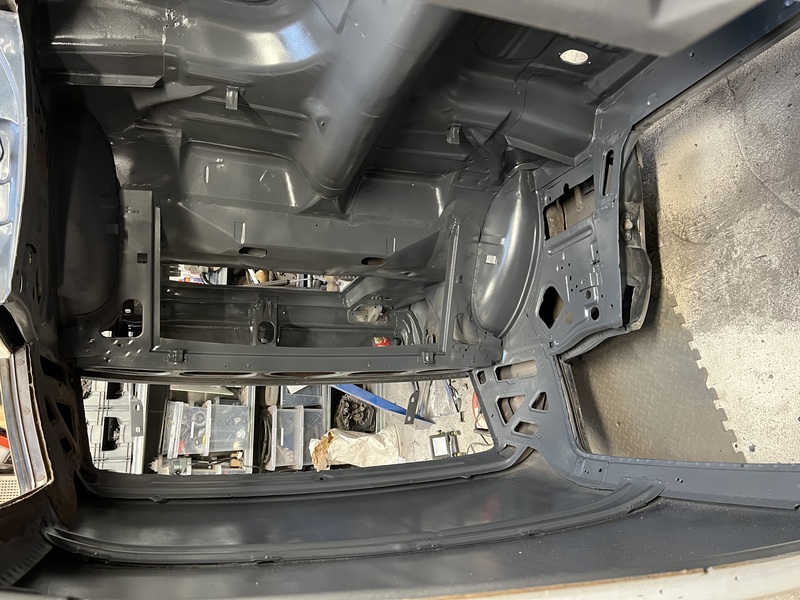
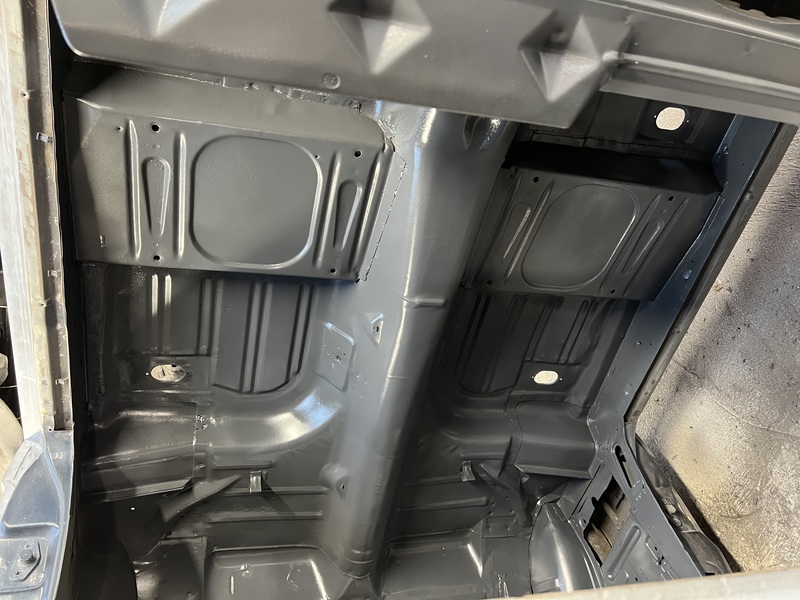
Encouraged by the progress I also sprayed the inside of the car, the engine bay, the boot, the window frames, and so on.
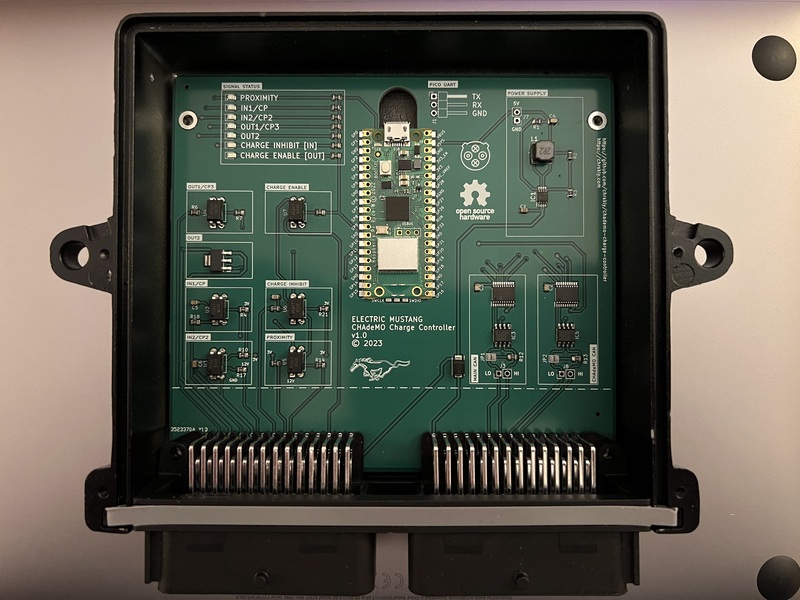
CHAdeMO #
I’ve also been chipping away on a custom CHAdeMO implementation for the car. It’s extremely premature as I’m a long way from being able to test it, but poking at a schematic in KiCAD and tapping out some code is quite easy from the comfort of the sofa in the evenings while watching some TV.
I have the first version of the board back from JLCPCB. What are the odds that the first version is correct? Zero I’m sure.